20 Best Stardew Valley Farm Layouts

Your farm is the heart of your Stardew Valley experience. Even if you spend most of your time chatting to the NPCs of the town or grinding business ventures to boost your income, everything comes back to your farm. As a result, it’s important to choose a Stardew Valley farm layout that doesn’t just meet your basic needs but optimizes your entire farm life experience.

Below, discover 20 of the best layouts for your farm in Stardew Valley. Each of these revolves around a different feature to save you time and boost productivity, whether that’s optimizing for animals or late-game automation.
What Is a Stardew Valley Farm Layout?
A Stardew Valley farm layout is simply how you have your farm organized. It focuses on where you keep buildings and plots. For example, in a standard, organized farm, you might have animals taking up the majority of your buildable land while the remaining ground is dedicated to tidy crop fields.
However, your farm layout doesn’t have to be tailored to ranching and farming. Your layout can also revolve around other key components of this popular indie game, such as combat or fishing.
Most Popular Stardew Valley Farm Layouts at a Glance
If you’re struggling to come up with the perfect layout for your new farm in this simulation game, don’t worry. Here’s a glance at some of the most popular Stardew Valley farm designs, including what they’re optimized for and the starting map they work best with.
| Layout | Optimizes for | Farm map | Automation level | Expanses potential |
| Organized Standard Farm | Flexibility | Standard | Scalable | Yes |
| Animal Haven Layout | Raising animals | Standard, Forest, Four Corners, and Meadowlands | Medium | Yes |
| Late-Game Automation Layout | Self-sufficient operation | Standard | High | Yes |
| Cozy Forest | Aesthetic purposes | Forest | Medium | No |
| Crop Maze Layout | Farming crops, aesthetic purposes | Standard, Hill-top | Medium | Yes |
| Self-Sufficient Layout | Self-sufficient operation, monster farming | Wilderness | High | Yes |
| Crystal Maze or Industrial Layout | Resource production (mining), efficiency | Hill-top | Low | Yes |
| Tropical/Themed Layouts | Farming crop fields and trees, gold generation | Island | Medium | Yes |
| Compact Layouts | Aesthetic purposes, efficiency | Forest | Medium | No |
| Beautification Layouts | Farming crops and trees, aesthetic purposes | Ginger Island | Low | Yes |
| Orchard and Vineyard Layout | Tree farming | Standard | High | No |
| Beehouse Bonanza Layout | Honey production | Standard | Medium | No |
| Artisan Goods Emporium Layout | Production of honey, jam, and other resources | Standard | Medium | Yes |
| Hybrid Crop and Animal Layout | Crop production, animals | Standard | Medium | Yes |
| Minimalist or Efficient Layout | Aesthetic purposes, efficiency | Standard | High | No |
| Ancient Fruit Empire Layout | Ancient Fruit production | Standard | High | Yes |
| Seasonal Showcase Layout | Crops | Standard | Medium | Yes |
| Monster Rancher Layout | Combat, monster farming | Wilderness | Low | Yes |
| Multi-Purpose Terrace Layout | Efficiency, aesthetics | Standard, Four Corners | Medium | No |
| Traveling Cart Hub Layout | Aesthetic | Traveling Cart | N/A | N/A |
What Are Stardew Valley Farm Maps?
Farm maps are the same as types. These are the bare, base maps you can choose from when beginning a new save file. Each map has its own pros and cons, and the map you pick can determine which activities are most obtainable for your farm.
Whether you’re playing this game on Android or PC, the Stardew Valley base maps are the same. However, you may find that you personally prefer a map on a particular platform over time.
Standard Farm
The Four Corners Farm is great for taking advantage of Stardew Valley’s multiplayer features. However, this unique map is also good for solo players who want to explore several map types on one farm.
Each quadrant of the Four Corners Farm is related to a different farm type. The top right corner, for example, resembles the Standard Farm map. This gives you the opportunity to compartmentalize your farm depending on what each quadrant specializes in, whether that’s fishing or mining.
Hill-top Farm
The Hill-top Farm is geared toward mining, with the farm having a chance to spawn several nodes to mine. The nodes themselves depend on your mining level, so they scale over time.
However, with the river dividing this map, the Hill-top Farm also makes for good crop mazes. Because of this, it’s one of the recommended maps for the Crop Maze Layout.
Forest Farm
The Forest Farm includes far less tillable space than the Standard Farm. However, this cozy map is a great choice for players interested in free hardwood stumps. While you will have less space to use for designing your farm, it does offer the opportunity to forage for materials and seasonal ingredients.
Beach Farm
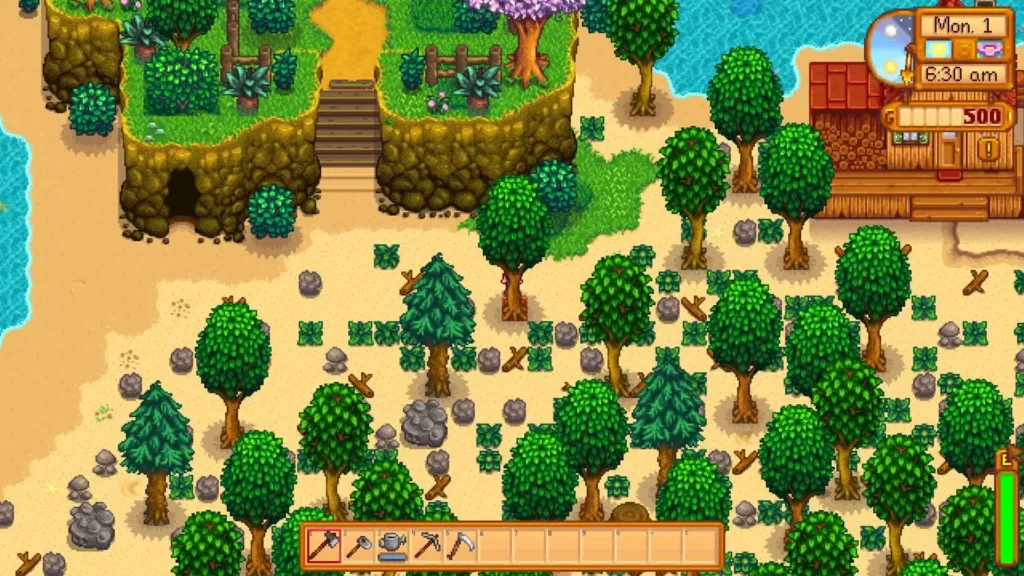
If you’re interested in foraging and fishing, then the Beach Farm may be a good choice for you. This map has an abundance of open space, and you can even find Supply Crates occasionally on the beach, which can contain a variety of rare items.
One thing to keep in mind with the Beach Farm map is that it can be difficult to use for farming. Not only is the tillable space limited, but sprinklers only work in a small section on this map, preventing you from fully automating large-scale farms.
Wilderness Farm
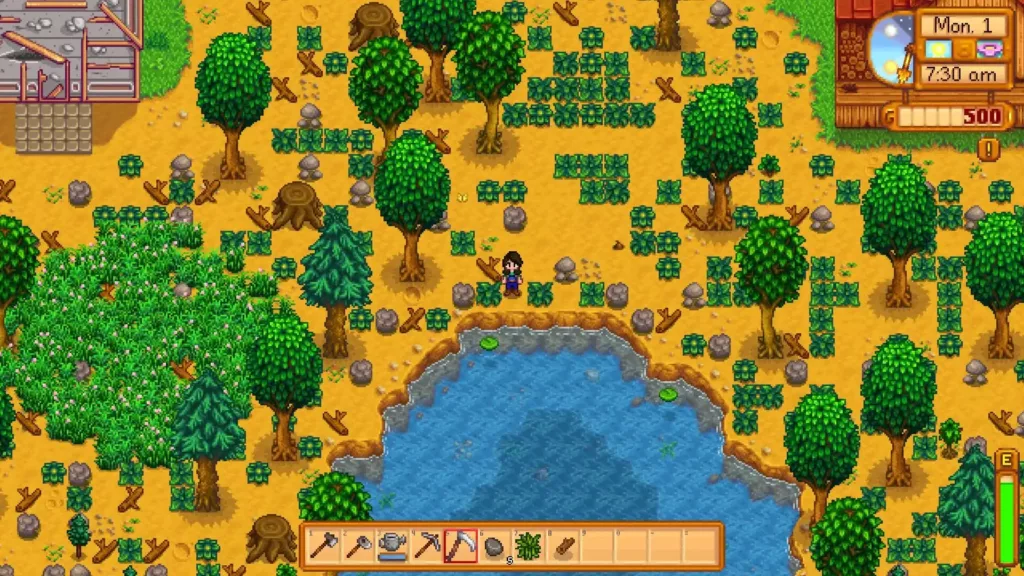
With a focus on combat and monsters, the Wilderness Farm may not be the best choice for beginners to Stardew Valley. Every night, this farm spawns new monsters depending on your level. It balances reduced tillable land with added fishing spots, giving you space for several different farm sectors.
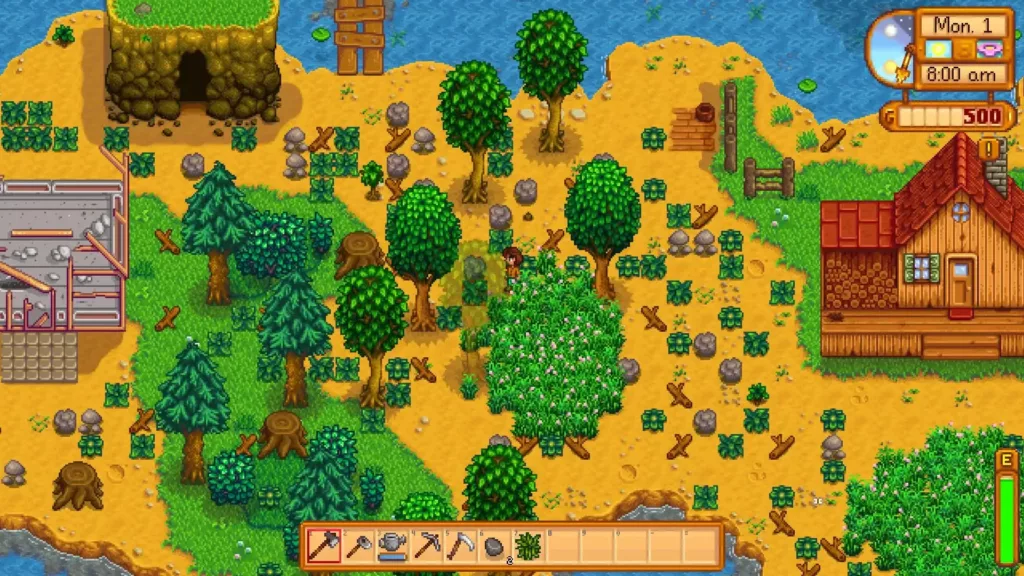
Meadowlands Farm

If you want to focus heavily on ranching, then the Stardew Valley Meadowlands Farm layout is the perfect choice for you. When you pick this map, you start with a coop and two chickens. And, instead of the usual Parsnip Seeds you receive at the start of your game, you receive Hay. Outside of these changes, the Meadowlands Farm has plenty of farmland as well as rivers, making it a solid choice for players who want to diversify their operation.
Riverland Farm
Like the Beach Farm, the Riverland Farm has much of its tillable space taken up by water, which adds to its aesthetics but limits your crop production. Its connected islands create natural organization on your farm, which is helpful if you plan on dividing up your usable space by function.
Other Fun Farm Layout Ideas
Looking to shake things up beyond the standard farm types? These creative Stardew Valley farm layout ideas add personality, efficiency, or just pure chaos to your gameplay.
1. Organized Standard Farm
- Optimizes for: Flexibility
- Farm map: Standard
- Automation level: Scalable
- Expansion potential: Yes
The organized farm layout revolves around flexibility and balance. By using the Stardew Valley Standard Farm layout, you have the most space possible to maximize your ventures. This means including areas for farming, ranching, and production on your farm, adjusting as you wish to fit your preferred playstyle.
This flexibility extends to automation and expansion as well. Because there is no single specialization that this layout focuses on, you’re free to expand your farm and design it as you wish, while keeping things tidy and organized. Plus, you can choose your preferred level of automation, from fully hands-on to fully hands-off. It’s this versatility that makes this one of the best Stardew Valley farm layouts for players of all skill levels.
2. Animal Haven Layout
- Optimizes for: Raising animals
- Farm map: Standard, Forest, Four Corners, and Meadowlands
- Automation level: Medium
- Expansion potential: Yes
The animal haven Stardew Valley farm layout focuses on the various animals that can call your farm home. From chickens and cows to pigs and sheep, you can keep several species on your farm. But once you get a field full of livestock, it can be difficult to manage them all. As a result, this layout focuses on efficiently placing all your coops and barns so each animal has enough space to thrive while still being easy to care for.
As you grow your farm, this layout can grow with you, allowing you to place more animal-related buildings when the resources become available. Plus, with enough time and money, you can automate much of the care process through tools like the Auto-Grabber and Auto-Petter. However, you will still need to be hands-on at times, like for manual petting to raise friendship or emptying the Auto-Grabber.
3. Late-Game Automation Layout
- Optimizes for: Self-sufficient operation
- Farm map: Standard
- Automation level: High
- Expansion potential: Yes
While it may take extra work to get there, this layout revolves around setting up your farm to be as automated as possible in the late game. This gives you the freedom to mine or grow your relationships with the townsfolk while still maintaining a successful, thriving farm.
If you want to use this layout, you’ll want to start with the Standard Farm map for even terrain with no surprises. From there, keep your permanent structures minimal so you can expand in the future. From purchasing automated animal care products to upgrades, you’ll need quite a bit of money to make your farm fully self-sufficient. However, the reward is well worth it, as you can maintain the health of your animals and crops without spending the majority of your day working.
4. Cozy Forest Layout
- Optimizes for: Aesthetic purposes
- Farm map: Forest
- Automation level: Medium
- Expansion potential: No
Although a cozy forest layout is more compact due to being on the Forest Farm map, there are ample opportunities to customize your farm to your aesthetic desires. Much of the space available on this map is taken up by the lush forest framing that sets it apart from other maps. As a result, you’ll need to be smart with your planning, leaving enough space for crops, animals, and production.
When it comes to automation, you’re free to set up your farm’s operations as you wish. You can invest in auto-care products in the late game, as well as sprinklers to water your crops. However, because space is scarce on the Stardew Valley Forest Farm layout, you won’t be able to easily expand. In order to build new things, you’ll likely either need to demolish existing structures or cut into the space dedicated to crops.
5. Crop Maze Layout
- Optimizes for: Farming crops, aesthetic purposes
- Farm map: Standard, Hill-top
- Automation level: Medium
- Expansion potential: Yes
Do you want a farm overflowing with crops but not on endless rectangular fields? Then the crop maze layout might be the best choice for you.
You can build this farm on either the Standard or Hill-top maps. However, Hill-top is a popular farm map for this layout because of the river that runs through it. The goal with this layout is to create a bustling farm with a variety of crops and paths. You can start with a smaller plot of crops and expand as you go, continuing the maze throughout the entirety of your farm. While automation through sprinklers is possible, the layout needed for sprinklers can alter your maze, and you may prefer to do it by hand to preserve your paths.
6. Self-Sufficient Layout
- Optimizes for: Self-sufficient operation, monster farming
- Farm map: Wilderness
- Automation level: High
- Expansion potential: Yes
The self-sufficient layout is similar to late-game automated, but they’re not the same. Whereas the late-game layout focuses on setting up your farm to be fully automated at a later time, the self-sufficient layout focuses on getting your farm up and running on its own as quickly as possible.
This is because the self-sufficient layout is built on the Wilderness Farm map, which introduces a variety of monsters that will visit your home at night. You want to be hands-off so you can spend more time and energy in combat rather than tending to daily farm operations.
7. Crystal Maze or Industrial Layout
- Optimizes for: Resource production (mining), efficiency
- Farm map: Hill-top
- Automation level: Low
- Expansion potential: Yes
Mining is an important skill to have in Stardew Valley. Ores like Iridium are essential for late-game automation, so it’s good to start building your Mining skill early on. This Stardew Valley farm setup optimizes for mining, with various nodes spawning on the chosen Hill-top Farm map.
One thing to remember with this build is that while it does have expansion potential, automation is low. You can automate most chores around your farm, but you’ll need to actively mine to get your skill level up and acquire the resources this layout is designed around.
8. Tropical/Themed Layouts
- Optimizes for: Farming crop fields and trees, gold generation
- Farm map: Ginger Island
- Automation level: Medium
- Expansion potential: Yes
This tropical themed layout isn’t designed for your main farm. Instead, it revolves around the farm on Ginger Island, which you can unlock later in the game. On Ginger Island, the current season doesn’t affect what kind of crops you grow, which makes it perfect for crops that can take longer to produce.
Automation for this layout is medium, as you can use sprinklers for much of the work. However, you still need to clean off the farm and collect Golden Walnuts, which are needed to repair and expand the farmhouse located there.
9. Compact Layouts
- Optimizes for: Aesthetic purposes, efficiency
- Farm map: Forest
- Automation level: Medium
- Expansion potential: No
As mentioned with the cozy forest layout, the Forest Farm map is smaller than many of the other available maps. However, a compact layout takes this feature in stride, using it to optimize efficiency and aesthetic purposes.
With less available space comes less room for clutter on your farm. As a result, a compact layout encourages that every area be used efficiently, whether that’s grazing land for your animals or crop fields. Paths should be neat and lead directly to your desired destinations, making your farm easy to navigate. However, because the space is so carefully planned to fit into the space, there isn’t much room to expand. If you want to add upgraded buildings or new features, you may have to demolish existing structures.
10. Beautification Layouts
- Optimizes for: Farming crops and trees, aesthetic purposes
- Farm map: Ginger Island
- Automation level: Low
- Expansion potential: Yes
Another Ginger Island layout, this aesthetic Stardew Valley farm layout focuses on making your farm as beautiful as possible while also producing a variety of crops and trees. However, be prepared for some hard work with this layout. While you can automate the watering process with sprinklers, it takes time and effort to plan and plant your crops, especially since the beautification layout involves so many different vegetables and trees.
Thankfully, you can start small and expand as you go, reducing some of the workload. You can also use the money earned from smaller plots to make the rest of the process a breeze through upgrades.
11. Orchard and Vineyard Layout
- Optimizes for: Tree farming
- Farm map: Standard
- Automation level: High
- Expansion potential: No
There are six types of trees you can grow in Stardew Valley, and this layout is designed to give you the orchard of your dreams. Thankfully, trees don’t require watering in Stardew Valley, so this approach is easily automated.
However, the expansion level is low, at least until later in the game. While you can place flooring and decorations around your tree, doing so halts its growth. Since your tree improves each year, you’ll want to hold off on adding paths directly around your trees until they reach their peak.
12. Beehouse Bonanza Layout
- Optimizes for: Honey production
- Farm map: Standard
- Automation level: Medium
- Expansion potential: No
Navigating the optimal beehive layout in Stardew Valley can be tricky. This is especially true since bees won’t produce honey indoors, which means greenhouses are out of the question.
This build pairs seasonal flowers and sprinklers for a hands-off approach. However, before you can reach this level of automation, you’ll need to spend time designing the perfect layout for your hives. As a result, expansion potential is low with this build, as adding more hives or other nearby buildings can involve changing your entire configuration.
13. Artisan Goods Emporium Layout
- Optimizes for: Production of honey, jam, and other resources
- Farm map: Standard
- Automation level: Medium
Expansion potential: Yes
While you can use tools like Auto-Grabbers and sprinklers to make an artisan goods style farm easier, be prepared for some hard work on the side. From honey to jams to cheese, this layout revolves around the production of high-quality items derived from raw goods on your farm. As a result, you’ll need to have several operations occurring at once, such as functioning beehives, healthy animals, and a successful crop.
Thankfully, you can start small before expanding to include other business ventures. You may choose to start just with animals to produce cheeses before upgrading your farm. This gives you more control and reduces the workload until you can invest in ways to automate the process.
14. Hybrid Crop and Animal Layout
- Optimizes for: Crop production, animals
- Farm map: Standard
- Automation level: Medium
- Expansion potential: Yes
Crops and animals are the bread and butter of Stardew Valley. While there are many activities and tasks you can dedicate your time to, farming and ranching are the core of this title. For that reason alone, creating a layout dedicated to both these operations is easy, especially on the Standard Farm with ample space.
Automation for this layout is medium but leans higher. This is because while you’ll still need to use elbow grease every now and then, such as petting animals to raise friendship levels, auto tools and sprinklers take care of most of the work around your farm.
15. Minimalist or Efficient Layout
- Optimizes for: Aesthetic purposes, efficiency
- Farm map: Standard
- Automation level: High
- Expansion potential: No
This layout focuses on straightforward, efficient farming with no added bells or whistles. As a result, expansion potential is low for the minimalist layout, as you won’t want to keep extra structures or plots that clutter your farm. Instead, this layout involves practicing an “out with the old, in with the new” mindset, replacing anything not in use.
Along with being efficient, this layout is designed for aesthetics, too. Everything on your farm has a purpose and is easy to access, which generally lends itself to a clean, tidy look.
16. Ancient Fruit Empire Layout
- Optimizes for: Ancient Fruit production
- Farm map: Standard
- Automation level: High
- Expansion potential: Yes
Although slow-growing, Ancient Fruit is a great way to make money in Stardew Valley. This is especially true given it produces fruit once a week after maturing. The Ancient Fruit empire layout is designed to give you as much space as possible to grow this pricey plant, which is why the Standard map is the perfect place to start.
Because it takes so long for Ancient Fruit to grow, it’s a fairly hands-off experience. In fact, after planting, if you use sprinklers, you’ll only need to work once a week to gather the fruit produced.
17. Seasonal Showcase Layout
- Optimizes for: Crops
- Farm map: Standard
- Automation level: Medium
- Expansion potential: Yes
Some crops in Stardew Valley are multi-seasonal. This means that they can be planted and grown across multiple seasons, as is the case with Ancient Fruit and others like corn. However, some plants can only be planted and grown in a single season.
The seasonal showcase layout focuses on these plants. With this layout, you begin each season by tilling and sowing a new set of seeds for crops that thrive during that season. You can opt for single harvest plants or multi-harvest plants, so long as they are grown in that season.
18. Monster Rancher Layout
- Optimizes for: Combat, monster farming
- Farm map: Wilderness
- Automation level: Low
- Expansion potential: Yes
As a monster rancher, you’re free to do what you want with your farm during the day. But at night, you’ll need to be prepared for combat. Since this layout uses the Wilderness Farm map, monsters will spawn around your farm at night. While you’re free to farm and raise animals to your heart’s desire, it’s important to save enough stamina for combat at night, since that’s the core of this build.
Another thing to keep in mind is that your level of automation will be lower than other layouts. While you can automate farm processes, you won’t be able to automatically combat and farm monsters.
19. Multi-Purpose Terrace Layout
- Optimizes for: Efficiency, aesthetics
- Farm map: Standard, Four Corners
- Automation level: Medium
- Expansion potential: No
The multi-purpose terrace style layout in Stardew Valley revolves around creating tidy sectors throughout your farm dedicated to a single operation. For example, the area closest to your house may focus on farming, while the next section focuses on ranching, and so on. This optimizes for efficiency as much as it does aesthetics, making your farm easy to navigate.
Unfortunately, unless you plan for expansions before designing your terraces, you likely won’t be able to make major changes to your farm design.
20. Traveling Cart Hub Layout
- Optimizes for: Aesthetics
- Farm map: Traveling Cart
- Automation level: N/A
- Expansion potential: N/A
Your farm and Ginger Island aren’t the only areas you can decorate and design in Stardew Valley. You can also decorate the area in the Cindersap Forest where the Traveling Cart spawns.
Decorating this spot is more for fun than any functional purposes. However, it’s a great way to add customization to your game and create an area you enjoy visiting. Plus, this is a great way to take advantage of the mechanics that make Stardew Valley one of the best building games.
Best Practices and Tips To Ace Stardew Valley
Whether you choose the easier start offered by the Standard Farm or jump directly into high-action monster combat on the Wilderness Farm, there are several steps you can take to grow and maintain a successful farm. Here are some of the best practices to ace your Stardew Valley playthrough:
- Master early-game efficiency: How you start your farm determines if you snowball into success or fizzle out early. Learn how to run the most efficient early game, from social aspects to farming mechanics, so your farm can grow and thrive. Be prepared for grinding during the early game for a successful playthrough.
- Plan crops and season management strategically: Farming is a large part of Stardew Valley, and one of the earliest sources of income. You’ll want to make sure you’re being strategic with the types of crops you plant, as well as where and when you plant them. This is especially true for maps with less tillable space.
- Prioritize efficient resource gathering: You won’t be able to find or produce everything on your farm. Learn where you can find the materials and ingredients you need, such as certain fish or ore, and add collection into your daily routine.
- Build strong community relationships: The NPCs of Stardew Valley bring this game to life. However, getting to know the locals can also help you in your gameplay, especially when you take advantage of the courtship mechanic for extra help around the farm. With such a focus on social simulation, you’ll find that Stardew Valley is a game like The Sims in this regard.
- Focus on smart crafting and machine utilization: Machines are essential not only for crafting but later automating your farm processes. Learn the best ways to use the resources at your disposal so you can easily grow your production in the late game.
- Use an effective farm layout and organization: Even the largest farm maps have a limit to their space. While some farm layouts are geared more toward aesthetics, many of them also help you organize and run your farm efficiently.
- Focus on financial growth and investment strategies: Money is key in Stardew Valley, whether for buying seeds and animals or purchasing upgrades. Focus on financial growth throughout your early game, especially income sources, so that your late game can revolve around the fruits of your labor instead.
- Understand and utilize game mechanics: There are many mechanics in Stardew Valley that you may need to learn, from seasons to relationships. Understanding these can help you optimally navigate the game.
- Set long-term goals and plan for end-game: With so many things to do, it can be easy to fall victim to tunnel vision when playing Stardew Valley. However, avoid focusing too much on one task for the present moment and keep your future goals and plans in mind.
Dive Deeper Into Farming and Life Simulation Adventures
Stardew Valley is one of the most relaxing games to play, with plenty of ways to spend your time between farming and social interactions. While it’s one of the most popular, it isn’t the only farming simulation game out there. There are dozens of games like Stardew Valley, each one blending your favorite parts of gameplay with unique additions.
You may also want to find a different game entirely. With so many genres available, the options are limitless. Take time to peruse the many games available to play today and find your next virtual adventure.
Stardew Valley Farm Layout FAQ
One of the best indie games to go viral, Stardew Valley attracts expert gamers as well as beginners who aren’t as familiar with the mechanics. Here are answers to some frequently asked questions if you’re still not sure how to get started with your layout.
Which Farm Type Offers the Most Space for Building Structures?
The Standard Farm is the best map for optimizing building space. Because so much of the space on this map is usable, whether for building or farming, without any interruptions like ponds and rivers, it’s a great map for layouts that require several buildings.
What’s the Best Farm Layout for Maximizing Early-Game Fishing Income?
Because many Stardew Valley fans consider fishing to be one of the most difficult mechanics in this game, many early-game layouts don’t revolve around this minigame. However, with a simple map type switch, you can tailor the standard organized farm layout to fit fishing into your schedule. You can maintain many parts of the original layout — just opt for the Riverland or Beach Farm instead of Standard.
How Does the Beach Farm Layout Affect Sprinkler Usage?
With the Beach Farm map in Stardew Valley, you can only place sprinklers in certain parts of the map, restricting how well you are able to automate crop growth. With this layout, only the dirt patch near your house can support sprinklers. When considering Stardew Valley farm layout ideas, make sure to keep this in mind.