How to Start Streaming in 2026: Complete Beginner’s Guide


Streaming is easier to start than you think. You don’t need a $2,000 setup or a dedicated streaming PC. In fact, you don’t even need a webcam. What you actually need is a gaming computer, a microphone (a headset mic absolutely counts), and about 30 minutes to configure free software.
There is a lot of conflicting advice out there about streaming, and most of it nudges you toward buying gear before you’ve streamed a single hour. This guide takes a different approach. We’ll cover the stuff that actually matters: picking your platform, setting up OBS for modern hardware, choosing games where new streamers can actually get noticed. And how to spend your first 90 days building an audience that sticks around.
You’ll know what you need to go live today. And what comes after that.
Step 1: Pick Your Streaming Platform
Platform choice is the first big decision you’ll make in the streaming world, and it’s more difficult than choosing any type of gear. Here’s an honest breakdown of each major option in 2026.
Twitch
If you’re streaming games and want viewers who care about gaming, go with Twitch.
The Twitch Affiliate milestone unlocks subscriptions and basic monetization. You need 25 followers and 3 average concurrent viewers to make it in.
Twitch sorts channels by viewer count. New streamers end up at the bottom of every category. You need viewers to attract viewers, so your growth strategy off Twitch matters far more than what you do on it (we cover this later in the article).
YouTube Live
YouTube’s recommendation algorithm actively surfaces new creators in ways Twitch doesn’t. If you already produce edited video content, adding live streams to your channel complements growth naturally.
YouTube viewers who find your VODs might follow for future live sessions. Chat moves slower than Twitch. But YouTube’s discoverability helps, especially for tutorials, music, or creative streams.
Kick
Kick has grown faster than any platform in the past two years. Creators keep 95 percent of revenue here, while Twitch splits it 50/50.
Kick’s audience is smaller. But you can monetize earlier, and the community actually welcomes new streamers instead of ignoring them.
Most content creators generally build up their audiences in other platforms like YouTube, Twitch, and TikTok before moving their live streaming operations to Kick just to have a solid viewer base.
TikTok Live
TikTok Live works best if you’re already posting clips on the platform.
Long gaming sessions don’t fit TikTok. Music, art, fitness, and IRL streams do much better. If you have TikTok followers already, going live turns them into stream viewers without much effort.
Quick pick: gaming content: Twitch. Video content already on YouTube: add YouTube Live. Best early monetization: Kick. Short-form or mobile-first content: TikTok Live.
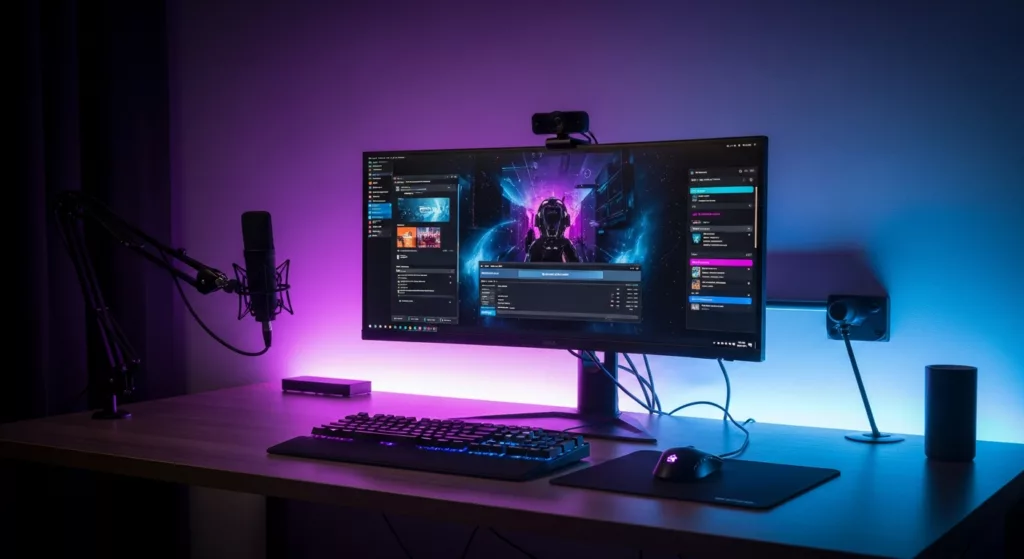
Step 2: Gear by Budget
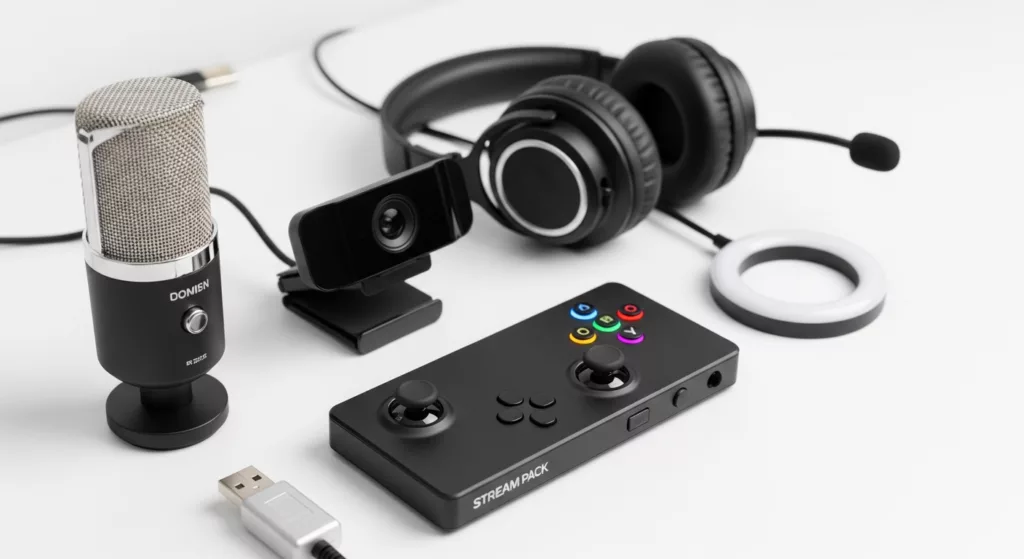
Most streaming guides push gear hard because of affiliate commissions, but we won’t be doing that. Instead, we’ll talk about the minimum viable streaming setup since starting small is smarter than buying a full rig before you know you enjoy going live.
The Zero-Budget Starting Point
You can technically start streaming with a zero budget since you just need three things:
- A computer that runs your game and OBS simultaneously
- A microphone (a gaming headset mic counts)
- OBS Studio, which is free.
That’s a functional stream. You don’t even need a webcam to start. Plenty of successful streamers never show their face. Minecraft creator Dream hid his face for years before revealing it. You can do the same if you want.
The biggest performance gain you can achieve while streaming at zero cost is switching from CPU encoding to GPU encoding in OBS.
NVENC on NVIDIA cards and AMF on AMD use about 1-3% of your GPU. CPU encoding is OBS’ default setting, and it’s the reason mid-range machines stutter during streams. Change that setting and most gaming PCs from the last four years can stream 1080p at 30-60fps without problems.
What Should You Upgrade First for Streaming?
So you’ve started your streaming journey at zero cost, and you can now do an upgrade. Audio is the first area that can use an improvement in your stream. Viewers will forgive a blurry webcam. They won’t stay for audio that sounds like a broken speakerphone.
- A USB condenser mic in the $50-80 range is an immediate improvement.
- The Blue Yeti Nano and the Elgato Wave:3
- Both work plug-and-play and cover everything a new streamer needs.
XLR setups (mic plus audio interface) produce better quality but add complexity and cost. Save that conversation for later when you know streaming is something you’ll keep doing, and if there are other upgrades that you want to make.
If you’re struggling to play your favorite games while running OBS at the same time, you can also prioritize a PC upgrade over audio improvements first.
Streaming Equipment to Skip in Early Phases
- Webcam: optional unless showing your face is central to your content style.
- Capture card: only needed when streaming from a console to a separate PC. PS5 and Xbox Series X both stream natively without one.
- Stream Deck: useful eventually, but a keyboard shortcut does the same thing for free right now.
Green screen: adds setup complexity and lighting requirements. A later upgrade.
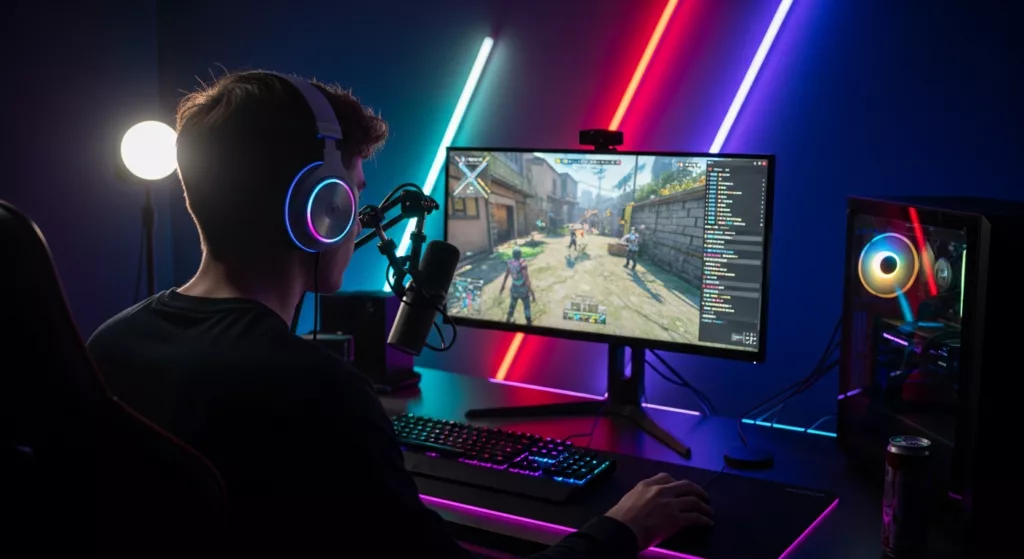
Step 3: Set Up OBS Studio
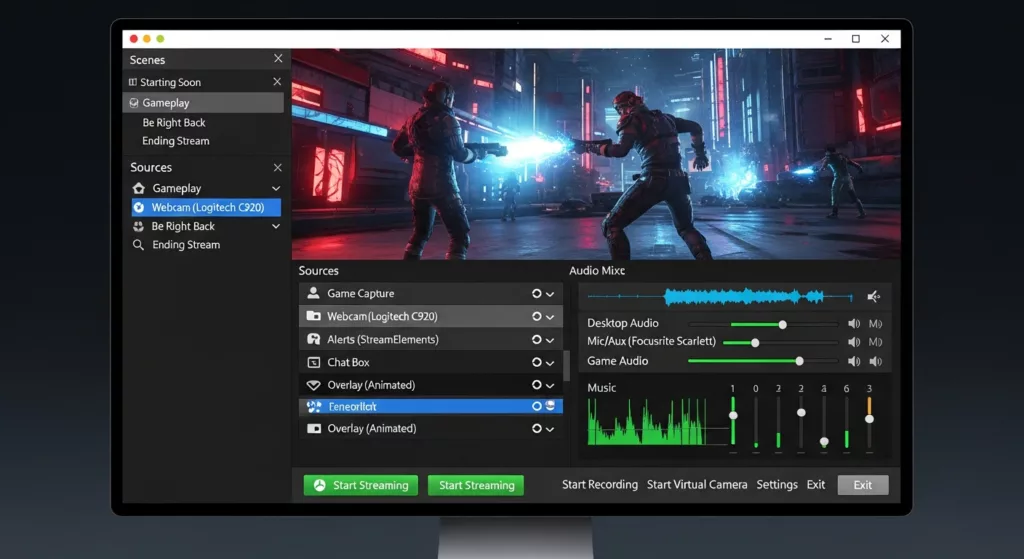
OBS Studio is the industry standard in streaming. It’s free, open-source, works with every major platform, and actively maintained.
Getting OBS Configured
Download OBS from obsproject.com and run the Auto-Configuration Wizard first. It tests your system and suggests baseline settings. Accept those as your starting point. Here’s what to change:
- Output settings:
- 4,500-6,000 Kbps bitrate for 1080p. If upload is under 10 Mbps, use 720p at 2,500-3,500 Kbps.
- Video settings:
- 1920×1080 at 30fps. Move to 60fps once you confirm no dropped frames.
- Encoder:
- Switch “Software (x264)” to NVENC H.264, NVENC AV1 (NVIDIA), or AMF (AMD).
- Audio:
- Desktop audio to output device, mic to Mic/Aux. Do a 60-second test before going live.
- Desktop audio to output device, mic to Mic/Aux. Do a 60-second test before going live.
Connecting OBS to Your Platform
Settings > Stream > select your platform from the dropdown.
- Log in or paste your stream key.
- Twitch calls it “Primary Stream Key”
- YouTube calls it “Stream key.”
- Copy, paste, save. Done.
OBS v.31+ tip: right-click your microphone source, open Filters, and add “Noise Suppression.” Choose the AI method. It removes background hum without the metallic echo older noise gates produce. Completely free and built right in.
Your First Scene
A scene is what viewers see. For your first stream you need two sources:
- Game Capture (for your game)
- Audio Input Capture (for your mic)
You can add your webcam, overlays/animations later once you have a few streams under your belt.
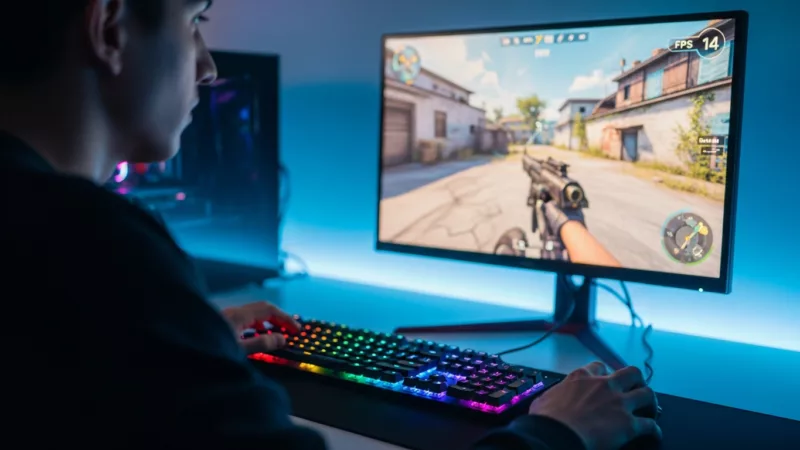
Step 4: Choose What to Stream
Most beginner guides skip game selection. It’s one of the most important decisions you’ll make.
Streaming the most popular games buries you. Open Fortnite or VALORANT on Twitch and you’re competing with hundreds of established channels. New viewers scrolling the directory see you at the very bottom, behind streamers with tens of thousands of followers.
Your first ten sessions, you’ll have zero viewers. That’s normal and expected, but the top-game categories offer almost zero organic discovery for new channels. Overall, the most common advice you’ll get will be to stream the game you’re passionate about, but you can make more strategic choices.
The Discovery Sweet Spot
Check the trending games on Twitch before starting. Look for categories with 50 to 500 total viewers. Small enough that new channels show up naturally. Large enough that people are actually browsing.
New game releases in their first week, indie titles on launch day, retro games with nostalgia communities, niche competitive titles: all of these fit the profile. A category with 200 viewers and 15 streamers gives you a 1-in-15 chance of being discovered.
We highly recommend finding that one game that you love playing where you can easily get discovered.
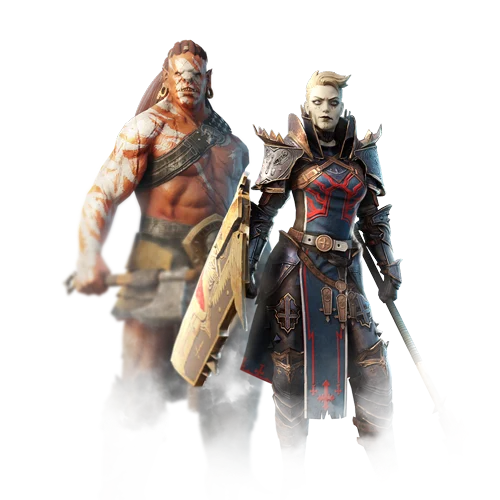
Avoid the Trap Games
The most popular video games: Minecraft, GTA V, Fortnite, VALORANT. These are great games to play, but they’re not great games to start streaming on. Save those for when you have an existing audience that will follow you into any category. Early on, discoverability is the whole game.
Beyond Gaming
Streaming has expanded well beyond games. Just Chatting, Music, Art, Cooking, and Fitness are all active Twitch categories with growing viewerbases.
If you’re not sure what to stream, browsing the best games to play online can spark ideas. Unless, you’re good to experiment with the IRL categories on Twitch.
Step 5: Your First 90 Days
The hardest stretch of any streaming career is those first few sessions with zero viewers. You’re essentially practicing out loud. Regardless of your numbers, consistency will be key.
Weeks 1 and 2: Just Start
Your only goal is to stream twice.
- Tell your friends on whatever platform you use regularly
- Keep each session to around 90-120 minutes
- Focus on being watchable
- Talk through silent moments
- React out loud to what’s happening on screen
- Narrate your decision-making
An empty chat can be awkward, but talking to it as if someone’s there is exactly how you build the habit before an audience arrives.
Month 1: Build and Publish a Schedule
Pick three days per week you can show up and post your schedule publicly. Put it in your Twitch panels, social bios, everywhere. People enjoy showing up for consistency.
If you’re consistent, three 90-minute sessions a week outperforms a single streaming marathon for community building.
Months 2 and 3: Grow Off-Platform
Twitch doesn’t have the algorithmic discovery that YouTube or TikTok do. Most of your early growth will come from outside Twitch.
- Clip your best moments from each session
- Post them to TikTok, YouTube Shorts, and Twitter/X.
You don’t need to go viral with these clips. You need a handful of people from each clip to follow your stream. That compounds over months.
This is how most modern streamers built their early audiences: TikTok and YouTube Shorts clips drove Twitch followers.
Months 4 to 6: Optimize and Start Monetizing
In your fourth month of streaming and onward you’ll have a feel for what resonates, which categories bring more viewers, and what your natural streaming persona actually is.
Twitch Affiliate is a realistic target in this window. You need 25 followers and 3 average concurrent viewers. First revenue comes from subscriptions and Bits (Twitch’s virtual tip currency). Ads come later, so you still can’t expect real income just yet.
The streamers who grow aren’t the ones with the best gear. They’re the ones who showed up consistently for six months while nobody was watching.
Common Beginner Mistakes to Avoid
Buying Gear Before Streaming Once
The most common mistake by far. Stream first, buy gear after you’ve confirmed you enjoy it. Many people invest in a full setup, stream three times, and stop. Your headset mic costs nothing extra. A $70 USB condenser mic is an affordable experiment.
Streaming Without Talking
Silent streams die fast. Even with no viewers, narrating your gameplay builds the habit you’ll need when an audience does arrive. React to the game. Ask your empty chat rhetorical questions. It feels strange for about a week, then it becomes second nature.
Obsessing Over Viewer Counts Early On
Minimize your dashboard and focus on streaming. In the first two months, viewer counts reflect how long you’ve been doing this, not how good you are. Check them after the stream, not during.
Overpromising Your Schedule
One stream per week you actually deliver beats four streams per week you partially deliver. Missed scheduled streams damage the trust of the small audience you’ve built faster than any technical issues would.
Pre-Stream Checklist
Run through this before your very first session:
- OBS installed and auto-configuration wizard completed
- Stream key pasted into OBS Settings > Stream
- Game Capture source added and tested in your scene
- Mic audio levels set: aim for -12 to -6 dB while speaking at normal volume
- Encoder switched to NVENC or AMF (not the default x264)
- Test recording done: confirmed both audio and video are working
- Platform channel filled in: name, bio, and category
- Schedule posted publicly somewhere
- Told at least one real person the stream is happening
Ready to Go Live?
Starting a stream in 2026 is genuinely more accessible than it’s ever been. Hardware encoding handles the performance problem. AI noise suppression in OBS solves the audio problem. Every major platform gets you live in under an hour for free.
The real challenge is showing up consistently for long enough that people find you. Most people who start streaming quit within the first month. The ones who stick around for three months almost always find their footing, and often find they’re more comfortable on camera than they ever expected.
Pick your platform. Download OBS. Talk to an empty chat. Come back next week and do it again.