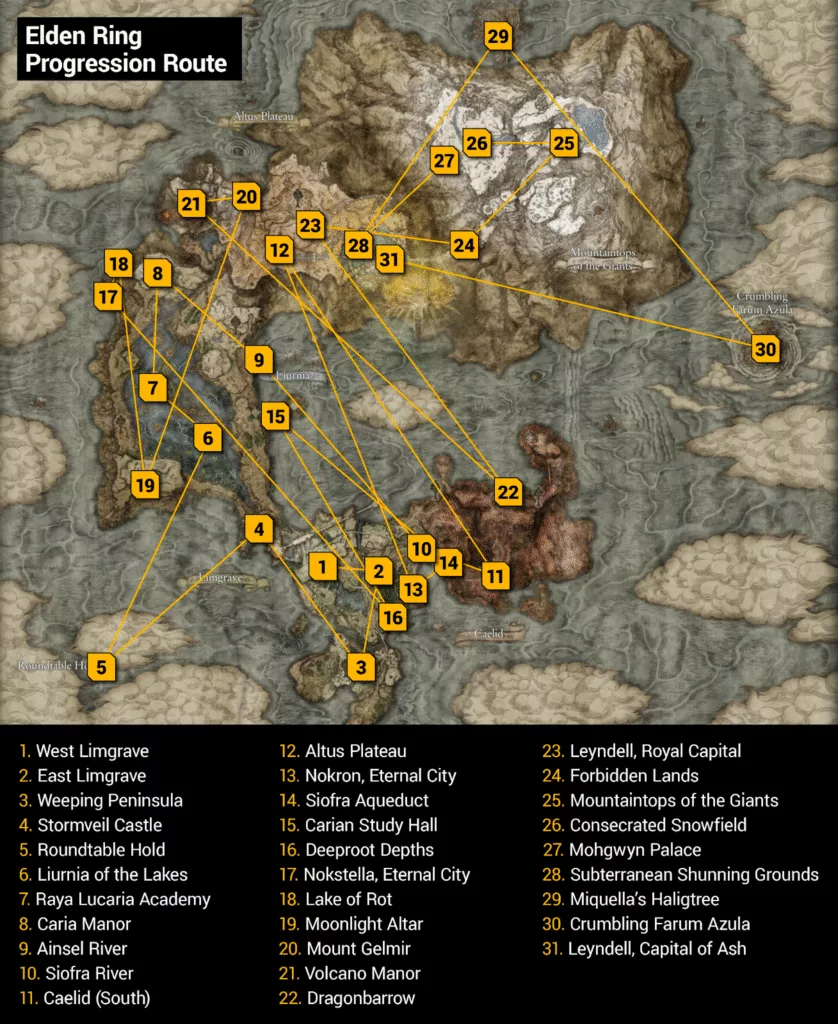
The Best Elden Ring Progression Route Explained


As the Tarnished, following the ideal Elden Ring progression route is the key to avoiding frustration and ensuring your character’s evolution. After all, you’re tasked with conquering the Lands Between, one boss at a time. The game’s open-world exploration rewards you with new weapons and gear as you progress, especially when you spend Runes at a Site of Grace.

This guide will give you a comprehensive, step-by-step walkthrough of a reliable progression route. We’ll start exploring each main area of the map, from the early hours of Limgrave to the frozen peaks of the Mountaintops of the Giants, along with regions in between. You will also find recommended character levels and weapon upgrades for each step.
Elden Ring Progression Route
Even with Elden Ring’s open-ended exploration, the world doesn’t directly scale with you. Enemies have a fixed, often difficult level, and you must focus on levelling up accordingly. We’ve provided a safe progression route to prevent you from exploring areas of the map without being prepared.
This route is built around two pillars of strength: your character level and your weapon level. Following this path will naturally provide you with the Runes needed to level up your Vigor and other key stats. You’ll also be able to locate resources like Smithing Stones in the correct order, without worrying about feeling underpowered during combat encounters.
Editor’s note: Keep in mind that these levels are specific to the base game’s progression. For Shadow of the Erdtree, Scadutree Fragments matter a lot more than Runes.


| Order | Area | Recommended character level | Recommended weapon level |
| 1 | West Limgrave | 1-10 | +0 to +2 (Standard), +0 to +1 (Somber) |
| 2 | East Limgrave | 10-20 | +2 to +3 (Standard), +1 (Somber) |
| 3 | Weeping Peninsula | 20-30 | +3 to +4 (Standard), +1 to +2 (Somber) |
| 4 | Stormveil Castle | 30-40 | +4 to +6 (Standard), +2 to +3 (Somber) |
| 5 | Roundtable Hold | N/A | N/A |
| 6 | Liurnia of the Lakes | 40-50 | +6 to +8 (Standard), +3 to +4 (Somber) |
| 7 | Raya Lucaria Academy | 50-60 | +8 to +10 (Standard), +4 (Somber) |
| 8 | Caria Manor | 50-60 | +8 to +10 (Standard), +4 (Somber) |
| 9 | Ainsel River | 50-60 | +8 to +10 (Standard), +4 (Somber) |
| 10 | Siofra River | 50-60 | +8 to +10 (Standard), +4 (Somber) |
| 11 | Caelid (South) | 60-70 | +10 to +12 (Standard), +4 to +5 (Somber) |
| 12 | Altus Plateau | 60–70 | +18 (Standard), +7 (Somber) |
| 13 | Nokron, Eternal City | 70-80 | +12 to +15 (Standard), +5 to +6 (Somber) |
| 14 | Siofra Aqueduct | 70-80 | +12 to +15 (Standard), +5 to +6 (Somber) |
| 15 | Carian Study Hall | 70-80 | +12 to +15 (Standard), +5 to +6 (Somber) |
| 16 | Deeproot Depths | 80-90 | +15 to +16 (Standard), +6 to +7 (Somber) |
| 17 | Nokstella, Eternal City | 80-90 | +15 to +18 (Standard), +6 to +7 (Somber) |
| 18 | Lake of Rot | 85-95 | +16 to +20 (Standard), +7 to +8 (Somber) |
| 19 | Moonlight Altar | 90-100 | +18 to +20 (Standard), +7 to +8 (Somber) |
| 20 | Mount Gelmir | 90-100 | +15 to +20 (Standard), +6 to +8 (Somber) |
| 21 | Volcano Manor | 100-110 | +20 to +24 (Standard) / +8 to +9 (Somber) |
| 22 | Dragonbarrow | 100-110 | +20 to +24 (Standard), +8 to +9 (Somber) |
| 23 | Leyndell, Royal Capital | 100-110 | +20 to +24 (Standard) / +8 to +9 (Somber) |
| 24 | Forbidden Lands | 110-120 | +24 (Standard), +9 (Somber) |
| 25 | Mountaintops of the Giants | 110-120 | +24 (Standard), +9 (Somber) |
| 26 | Consecrated Snowfield | 120-130 | +24 to +25 (Standard), +9 to +10 (Somber) |
| 27 | Mohgwyn Palace | 120-140 | +25 (Standard), +10 (Somber) |
| 28 | Subterranean Shunning Grounds | 110-120 | +24 (Standard), +9 (Somber) |
| 29 | Miquella’s Haligtree | 130-150 | +25 (Standard), +10 (Somber) |
| 30 | Crumbling Farum Azula | 120-140 | +25 (Standard), +10 (Somber) |
| 31 | Leyndell, Capital of Ash | 140-150+ | +25 (Standard), +10 (Somber) |
Elden Ring’s Level Map
The entire map of Lands Between is a continent-wide landscape separated into regions, many of which stay hidden or inaccessible until you complete certain objectives. Below, you’ll find a complete guide to each region’s major locations, bosses, and recommended levels. Treat this as an Elden Ring walkthrough, and you’ll be better prepared for what’s to come.
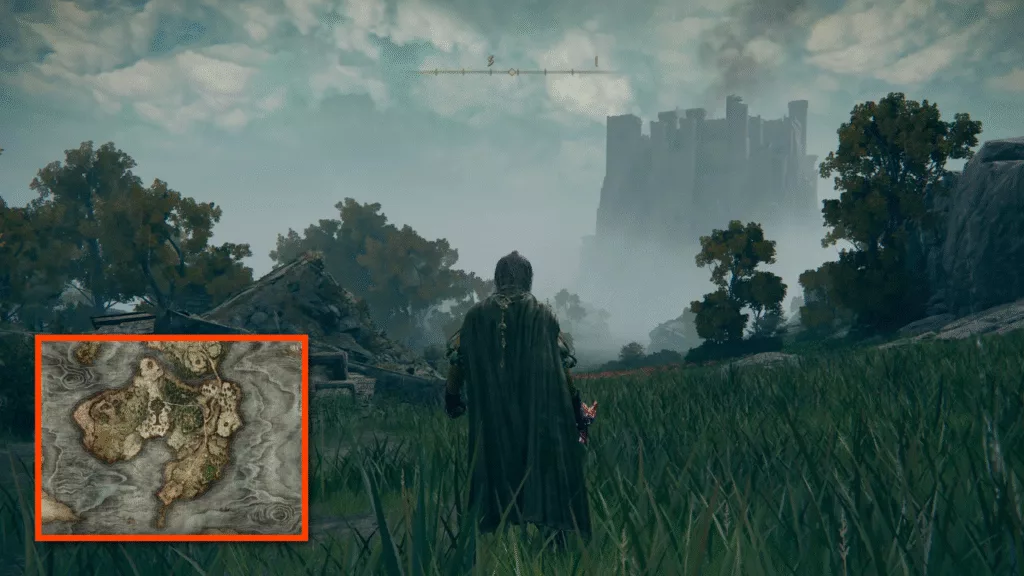
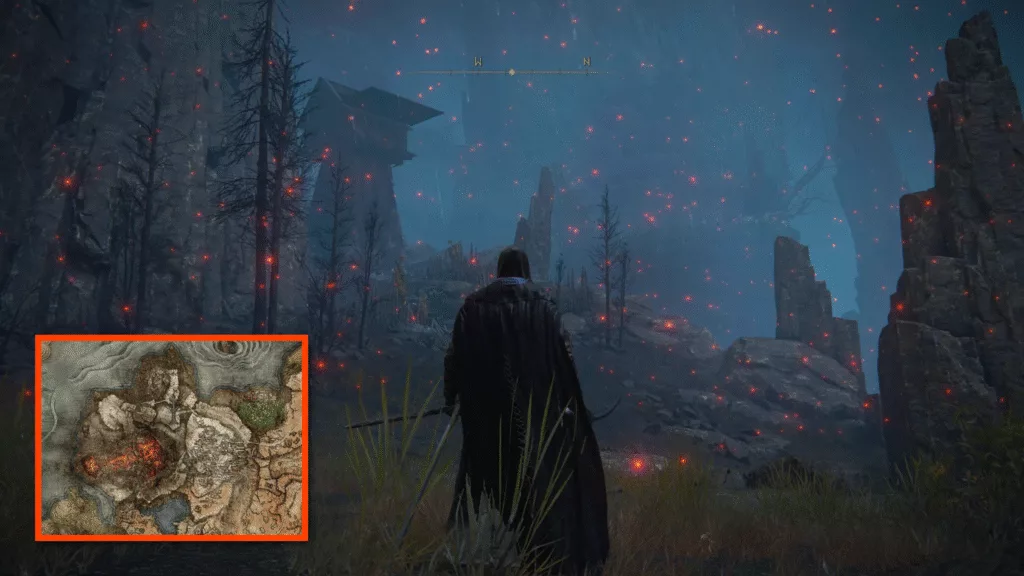
1. West Limgrave
| Major locations: | Church of Elleh, Stormhill Evergaol, Stranded Graveyard, Dragon-Burnt Ruins, Stormfoot Catacombs, Murkwater Cave, Murkwater Catacombs |
| Important bosses: | Margit, The Fell Omen (mandatory) Soldier of Godrick Flying Dragon Agheel Crucible Knight |
| Recommended character level: | 1–15 |
| Recommended weapon level: | +0 to +2 (Standard), +0 to +1 (Somber) |
In the beginning, Elden Ring’s level map is blank, and everything feels open to discovery. However, this illusion is quickly broken once you face elite enemies that get in your way. There’s also a dragon at Dragon-Burnt Ruins alongside dungeons and catacombs for you to explore.
The major boss for progression here is Margit, The Fell Omen. Once he is defeated, you will have access to a decent base of gear and Runes. However, before you leave West Limgrave, ensure that you have more than enough weapons to experiment with when exploring more of Stormveil Castle.
2. East Limgrave
| Major locations: | Mistwood Ruins, Minor Erdtree (Mistwood), Fort Haight, Summonwater Village, Third Church of Marika |
| Important bosses: | Tibia Mariner |
| Recommended character level: | 10–20 |
| Recommended weapon level: | +2 to +3 (Standard), +1 (Somber) |
On the eastern side of the Elden Ring map, you’ll find the forested Mistwood region, where the first map fragment at Mistwood Ruins will help you start unlocking the map for this region. In East Limgrave, much of your progression relies on securing the map fragment, visiting the Minor Erdtree, and doing a side quest at Fort Haight via Kenneth Haight.
Before you move into a major Legacy dungeon (West Limgrave), you’ll want to finish the map-unlocking, gather upgrade materials, and loot from the east-side dungeon. Also, speak to the NPCs in Mistwood or Summonwater to ensure you haven’t missed out on any early upgrades or lore.
3. Weeping Peninsula
| Major locations: | Bridge of Sacrifice, Minor Erdtree, Castle Morne, Tombsward Catacombs and Morne Tunnel dungeons, Earthbore Cave |
| Important bosses: | Erdtree Burial Watchdog Night’s Cavalry Scaly Misbegotten Ancient Hero of Zamor |
| Recommended character level: | 20–30 |
| Recommended weapon level: | +3 to +4 (Standard), +1 to +2 (Somber) |
Elden Ring areas, by level, progress in an open-ended way; you explore, fight, and discover new paths. However, Weeping Peninsula is one of those few regions that truly makes you realize that you’ve pushed past Limgrave. You’re welcomed by a melancholic and rain-soaked place with coastal ruins and a central Minor Erdtree.
Here, you’ll focus on iconic landmarks like Castle Morne and explore dungeons like Morne Tunnel and Tombsward Catacombs, where you can find upgrade materials. Even though you don’t have to beat any of the bosses in this region to progress through the storyline, we recommend defeating Erdtree Burial Watchdog for those extra Runes.
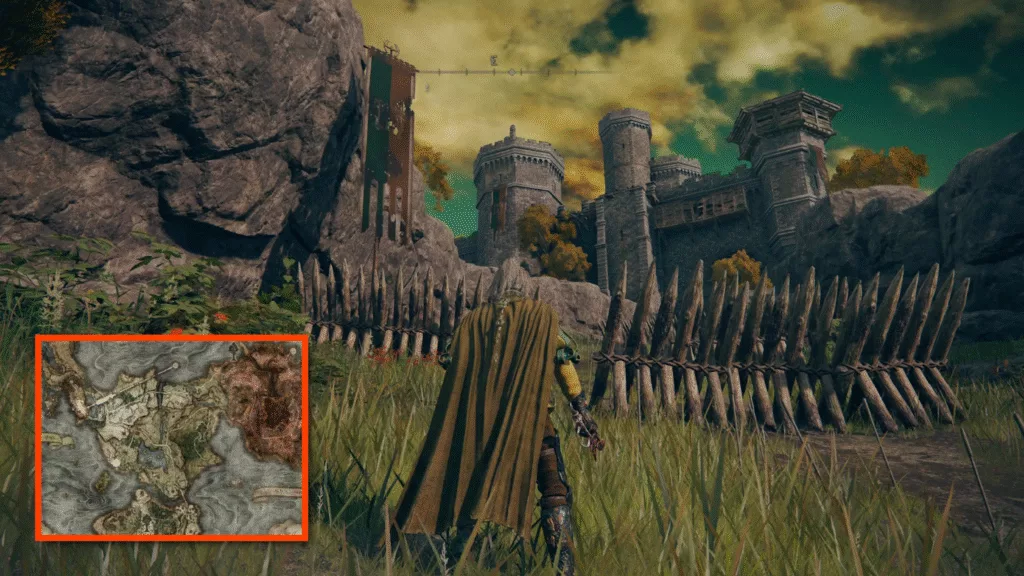
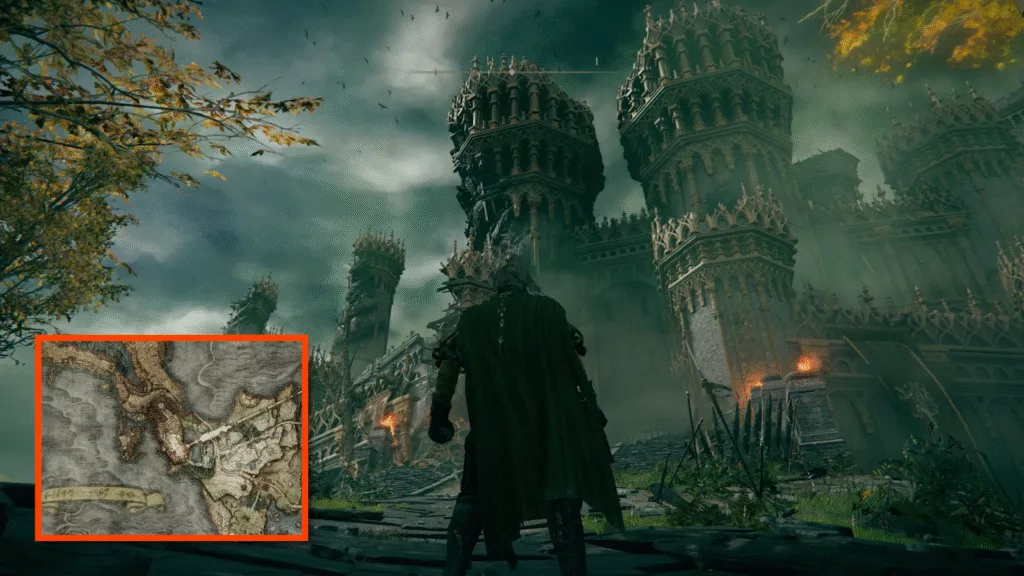
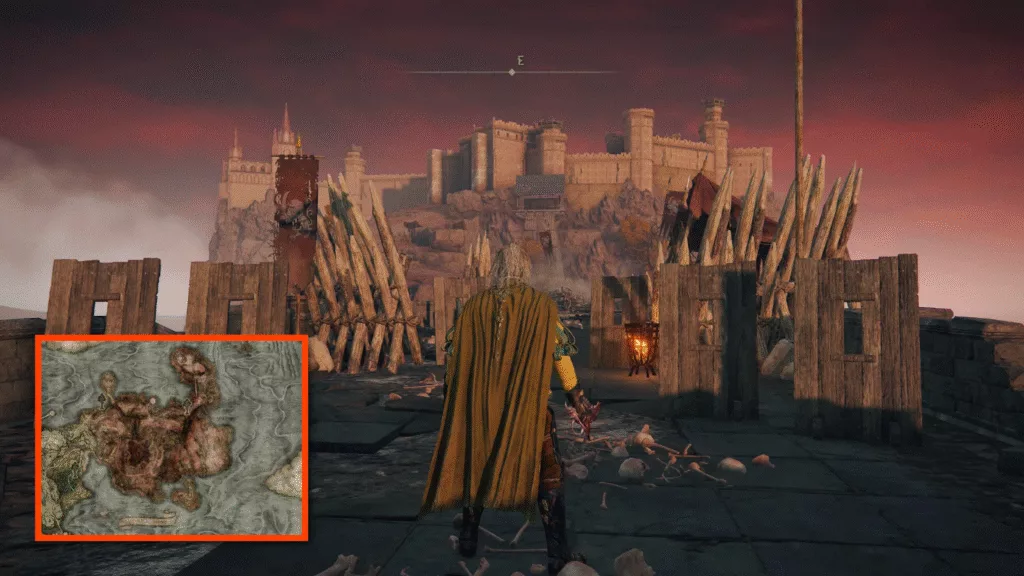
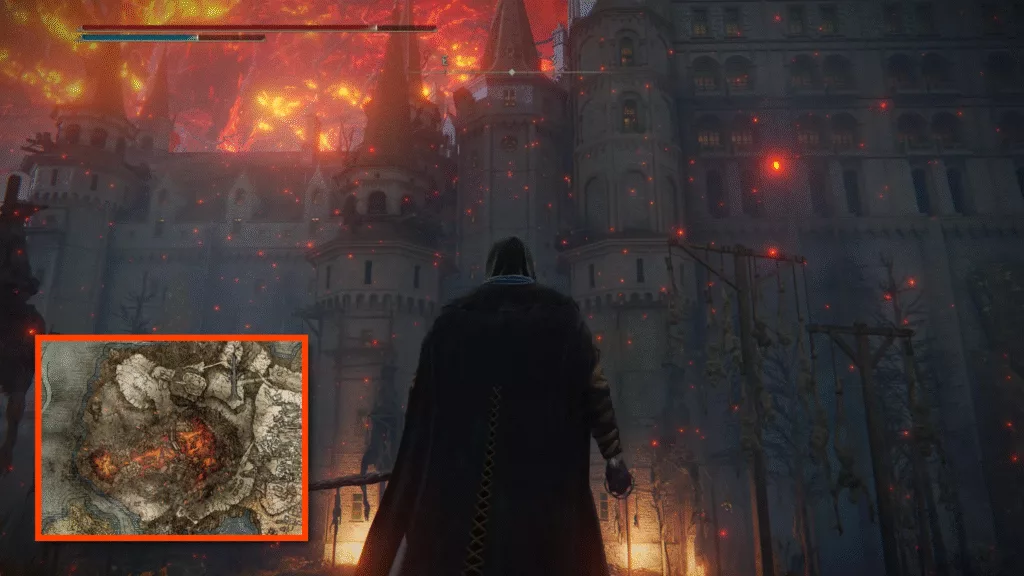
4. Stormveil Castle
| Major locations: | Castle Main Gate/Rampart Tower, Rampart Tower and Rooftops, Courtyard & Ballista Bridge, Basement/Underground Crypt, Cemetery, and Boss Arena |
| Important bosses: | Godrick the Grafted (mandatory) Ulcerated Tree Spirit |
| Recommended character level: | 30–40 |
| Recommended weapon level: | +4 to +6 (Standard), +2 to +3 (Somber) |
Once you’ve defeated Margit, The Fell Omen, you’ll unlock this area. Inside, the castle presents itself through multiple interconnected paths; you can go through a heavily guarded main gate or find a stealthier approach through the cliffside entrance. Along the way, you’ll also find several Sites of Grace, loot and upgrade materials, and new weapons.
As you make your way through the castle, the main area has you cross paths with Godrick the Grafted, one of the toughest early bosses in the game. Upon his defeat, you’ll be granted his Great Rune, unlocking a path ahead into Liurnia of the Lakes for further progression.
5. Roundtable Hold (Safe Zone)
| Important NPCs: | Gideon Ofnir: Senior member and leader of the Hold. Corhyn: Holy practitioner who sells Incantations. Diallos: A noble in search of a loyal servant. Roderika: The NPC from the hut at Stormhill Shack who upgrades your Spirit Ashes. D, Hunter of the Dead: Undead hunter who can offer to give the location of Gurranq, Beast Clergyman. Smithing Master Hewg: A blacksmith for weapon upgrades. Fia: A Deathbed Companion who can offer to embrace you. Doing so gives you a debuff as well as an item that can replace it with a buff instead (the Baldachin’s Blessing). Nepheli Loux: A fellow Tarnished warrior first met in Stormveil Castle. Sorcerer Rogier: A Tarnished sorcerer first encountered at Stormveil Castle. Enia: Met after defeating your first demigod. Ensha: The silent NPC standing outside of Gideon Ofnir’s room. Twin Maiden Husks: A vendor who will take Bell Bearings to expand their inventory. Dung Eater: An NPC at the end of the left hall, past the Twin Maiden Husks room (looks like an invader, but cannot attack). |
This one’s a special area. The Roundtable Hold will get you better acquainted with the mechanics of the game, so you’re not wandering around the Lands Between constantly asking yourself, “How do I even play Elden Ring?” This place serves as the central base of everything you do, introducing you to several NPCs and rooms that are filled with lore.
To access this area, simply rest at any Site of Grace and select the option to visit the Roundtable Hold. Once you’re there, you don’t need to worry about combat or unexpected hostility. Do explore every dialogue and NPC interaction, as many of them may lead to new questlines.
6. Liurnia of the Lakes
| Major locations: | Raya Lucaria Academy, Caria Manor, Minor Erdtree |
| Important bosses: | Rennala, Queen of the Full Moon (mandatory) Royal Knight Loretta |
| Recommended character level: | 40–50 |
| Recommended weapon level: | +6 to +8 (Standard), +3 to +4 (Somber) |
Liurnia of the Lakes is a large blend of marsh and lake region to the north of Limgrave. Your first task here is to unlock the map fragments and Sites of Grace around the shoreline and the academy gate. Once you do this, you can make your way to the Raya Lucaria Academy. This is where you’ll meet and defeat Rennala, Queen of the Full Moon.
The area also contains Faith weapons and accessories that’ll cater to sorcerers and magic-wielders. Along the way, you can venture into Caria Manor, clear optional dungeons for Smithing Stones and spirit ashes, engage with different NPC questlines, and pick up major items. Once you’re confident in your build, feel free to move forward.
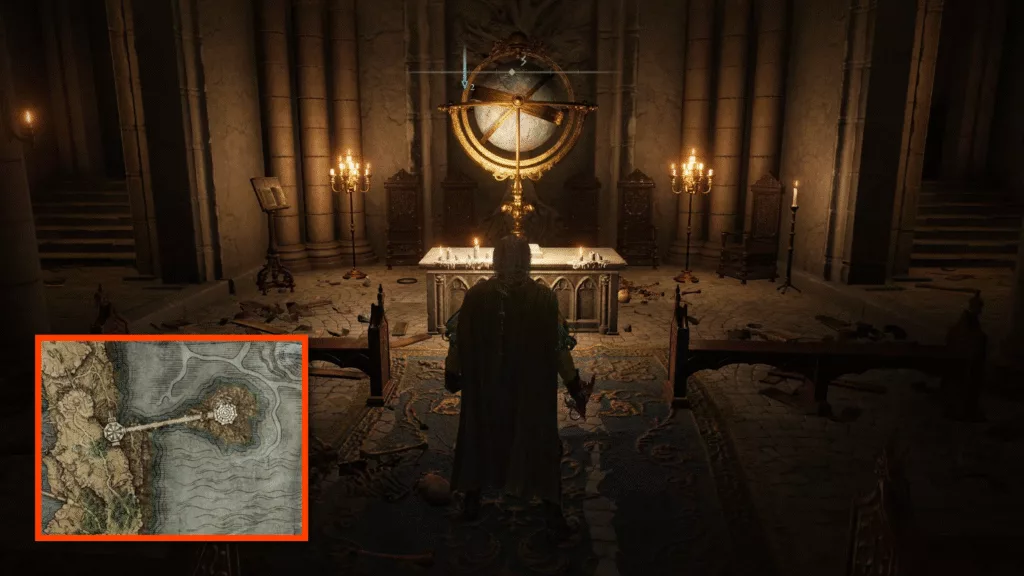
7. Raya Lucaria Academy
| Major locations: | South Raya Lucaria Gate and Main Academy Gate, Church of the Cuckoo, Schoolhouse Classroom, Debate Parlor, Grand Library |
| Important bosses: | Rennala, Queen of the Full Moon (mandatory) Red Wolf of Radagon |
| Recommended character level: | 50–60 |
| Recommended weapon level: | +8 to +10 (Standard), +4 (Somber) |
To veterans, the Raya Lucaria Academy can feel like the true starting point of the game, since you can respec all the different classes here once you defeat Renalla, Queen of the Full Moon. The Academy’s elegant halls are home to dangerous spell-casting enemies and deadly architectural elements that can feel like environmental traps.
Remember to take the rooftop paths and hidden shortcuts, making your way through the Church of the Cuckoo, the Schoolhouse, and Debate Parlor until you reach the Grand Library. While the Red Wolf of Radagon is an optional boss, we recommend getting past the fight so you can enjoy some high-tier loot.
8. Caria Manor
| Major locations: | The Main Gate of Caria Manor, Manor Lower Level, Manor Upper Level, Moongazing Grounds |
| Important bosses: | Royal Knight Loretta (mandatory) |
| Recommended character level: | 50–60 |
| Recommended weapon level: | +8 to +10 (Standard), +4 (Somber) |
You gain access to Caria Manor after exploring much of Liurnia of the Lakes and unlocking the north-western path through the Kingsrealm Ruins’ illusory wall. Once you’re here, you’ll be greeted by a courtyard crawling with hands that look like spiders. Giant ones also burst out from the ground, so be careful!
Get through some of this monstrosity, and find a key item called the Sword of Night and Flame. Explore around, and you’ll also acquire some of the best spells in the game (such as Loretta’s Greatbow). Your ultimate goal here is to defeat Royal Knight Loretta in the Moongazing Grounds. This will open the way into the Three Sisters area, key to Ranni the Witch’s quest.
9. Ainsel River
| Major locations: | Ainsel River Well Depths, Ainsel River Sluice Gate, Uhl Palace Ruins, Ainsel River Main, Nokstella, Eternal City |
| Important bosses: | Dragonkin Soldier of Nokstella Baleful Shadow Malformed Star bosses |
| Recommended character level: | 50–60 |
| Recommended weapon level: | +8 to +10 (Standard), +4 (Somber) |
You access the Ainsel River by descending from a special lift located in the Liurnia of the Lakes. From there, you’ll navigate through ant-infested tunnels, the Sluice Gate area, and the Uhl Palace Ruins to claim the map fragment and other key items. To reach the Ainsel River Main area, you need to unlock a waygate, which teleports you to the northern section.
Eventually, your journey will take you to Nokstella, Eternal City. Throughout this little adventure, you’ll find high-tier upgrade materials like Ghost and Great Ghost Gloveworts, rare items, and optional bosses. However, only enter the Ainsel River once your gear and confidence levels are on the same page. There’s a lot of hidden end-game content here!
10. Siofra River
| Major locations: | The Siofra River Well elevator, Siofra River Bank, Hallowhorn Grounds, hidden arcane waygate |
| Important bosses: | Ancestor Spirit Elite enemies like Ancestral Followers |
| Recommended character level: | 50–60 |
| Recommended weapon level: | +8 to +10 (Standard), +4 (Somber) |
Access Siofra River by taking the elevator down the Siofra River Well, located in East Limgrave. Once inside, don’t let the beautiful environments distract you. You’ll be fighting (or running) for your life against deadly bow-and-arrow snipers and dodging balls of lightning that seem to come out of nowhere.
Try to light the eight obelisks found around this area, so you can fight the Ancestor Spirit boss. This will reveal several important items nearby, as well as progress Ranni’s questline. At West of the Worshipper’s Woods Site of Grace, a merchant can reveal one of the many Larval Tear spots found around this region and the surrounding areas.
11. Caelid (South)
| Major locations: | Cathedral of Dragon Communion, Impassable Greatbridge, Redmane Castle, Caelid Highway South, Caelid open twisted plains |
| Important bosses: | Starscourge Radahn (mandatory) Decaying Ekzykes |
| Recommended character level: | 60–70 |
| Recommended weapon level: | +10 to +12 (Standard), +4 to +5 (Somber) |
Caelid is home to some iconic boss locations, especially the arena where you fight Starscourge Radahn. Before you figure out how to beat Radahn, it’s important to note that the southern region of Caelid is a scarlet-rot riddled wasteland where the terrain is dangerous, enemies are relentless, and safe Sites of Grace locations are around the Highway South roads.
Once you reach the Cathedral of Dragon Communion, you can unlock dragon-style incantations. From there, you’ll approach the Impassable Greatbridge and the massive Redmane Castle fortress, where the Radahn boss fight takes place.
12. Altus Plateau
| Major locations: | Atlus Highway Junction, Erdtree-Gazing Hill, Shaded Castle, Minor Erdtree, Windmill Village, Lux Ruins |
| Important bosses: | Ancient Dragon Lansseax Godskin Apostle Omenkiller Demi-Human Queen Gilika Sanguine Noble |
| Recommended character level: | 60–70 |
| Recommended weapon level: | +18 (Standard), +7 (Somber) |
In the heart of the Lands Between lies a sun-soaked golden expanse that signals your transition into Elden Ring’s mid-game content. Atlus feels truly deceptive when you first approach it, with its wandering nobles, rolling fields, and massive ruins. All of it hides dangerous enemies and bosses that can truly test your might.
Before heading towards Leyndell, we recommend exploring Atlus Plateau as much as you can and defeating most of its bosses. None of them are mandatory for the main story’s progression, but they reward you with powerful gear and upgrade materials.
13. Nokron, Eternal City
| Major locations: | Star-fall Crater, Hallowhorn Grounds, Night’s Sacred Ground, Ancestral Woods, Siofra Aqueduct, Waygate to Deeproot Depths |
| Important bosses: | Mimic Tear Regal Ancestor Spirit Valiant Gargoyle and Valiant Gargoyle (Twinblade) |
| Recommended character level: | 70–80 |
| Recommended weapon level: | +12 to +15 (Standard), +5 to +6 (Somber) |
Once you’ve defeated Radahn and triggered the star-fall, you’ll gain access to Nokron, Eternal City, via the Star-fall Crater in Limgrave. Inside, you get to traverse a ruin of floating architecture, rooftops, and partially exposed cathedral-esque spaces. There’s a lot to loot and collect here.
Nokron is also where you can find some of the best staffs in the game. The key progression markers here include defeating the Mimic Tear mirror-boss, unlocking chest loot, and lighting the obelisks to challenge the Regal Ancestor Spirit. Before moving on, ensure you’ve collected rare upgrade materials.
14. Siofra Aqueduct
| Major locations: | Nokron, Eternal City, Aqueduct-Facing Cliffs |
| Important bosses: | Valiant Gargoyle and Valiant Gargoyle (Twinblade) Elite enemies like the Lesser Crucible Knight |
| Recommended character level: | 70–80 |
| Recommended weapon level: | +12 to +15 (Standard), +5 to +6 (Somber) |
As you navigate the ruins of Nokron, Eternal City, you’ll enter Siofra Aqueduct by exploring the ruins. To get here, you’ll start at the Mimic Tear Site of Grace and traverse a bridge, then drop down to a tunnel entrance on a cliff behind the Hallowhorn Grounds. Once inside, you’ll explore a three-dimensional ruined walkway suspended above water.
You can collect key items here, like the Crucible Hornshield, Order Healing incantation, and Smithing Stones. The journey concludes with a twin boss fight against the Baliant Gargoyles, which rewards you with high-tier loot and opens a coffin-teleport to deeper zones, such as the Deeprooot Depths.
15. Carian Study Hall
| Major locations: | Tower entrance, Study Hall Entrance Site of Grace, secret “inverted” version of the region |
| Important bosses: | Preceptor Miriam Miriam in the inverted version |
| Recommended character level: | 70–80 |
| Recommended weapon level: | +12 to +15 (Standard), +5 to +6 (Somber) |
After heading to the eastern coast of Liurnia of the Lakes, you can reach the Carian Study Hall through the Study Hall Entrance Site of Grace. Inside this tower-library, you’ll ride an elevator and fight your way through ghostly nobles and the sorceress Preceptor Miriam.
A crucial point of progression here comes from acquiring the Carian Inverted Statue (through Ranni’s quests) and placing it on the pedestal. This flips the tower, unlocking the path to the Divine Tower of Liurnia. Defeating Miriam grants you powerful spells and unlocks access to further story points.
16. Deeproot Depths
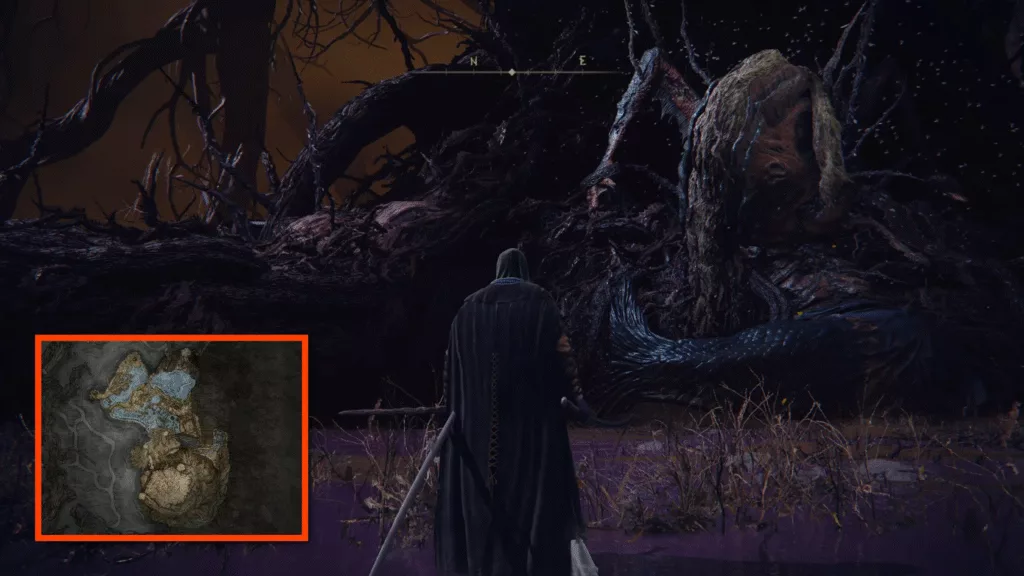
| Major locations: | Great Waterfall Crest, The Nameless Eternal City, Across the Roots, Root-Facing Cliffs, Mausoleum, Tree-Root Ruins |
| Important bosses: | Fia’s Champions Lichdragon Fortissax Crucible Knight Siluria |
| Recommended character level: | 80–90 |
| Recommended weapon level: | +15 to +16 (Standard), +6 to +7 (Somber) |
At the Siofra Aqueduct, you can enter a coffin that teleports you to the Deeproot Depths. You’ll arrive at the Great Waterfall Crest and descend through root-filled caverns and ruined architecture beneath the Erdtree.
Huge insects (Giant Ants) are everywhere here, and will easily swarm you if you try to fight them all at once.
As far as items go, you can find essential loot like the Legendary Incantation Elden Stars and the Ash of War: Golden Land. Then, work your way through the Root-Facing-Cliffs network to progress further. Remember that while all of this is optional, we highly recommend picking up whatever you can in this region.
17. Nokstella, Eternal City
| Major locations: | Nokstella, Eternal City Site of Grace |
| Important bosses: | A few elite enemies like Swordstresses and Silver Tears |
| Recommended character level: | 80–90 |
| Recommended weapon level: | +15 to +18 (Standard), +6 to +7 (Somber) |
Once you’re done navigating the network of Ainsel River, you can enter Nokstella, Eternal City. This is a massive, ruined underground city built along a flowing river, filled with collapsed structures, dangerous enemies, and high-tier upgrades. Keep exploring around the Site of Grace and get important items like the Stonesword Key and Ghost-Glovewort.
While you don’t need to kill any bosses here, fully clearing Nokstella strengthens your overall build and unlocks deeper optional zones like the Lake of Rot. So, before progressing further with the main story, do explore more of Nokstella and find as much gear and resources as you can.
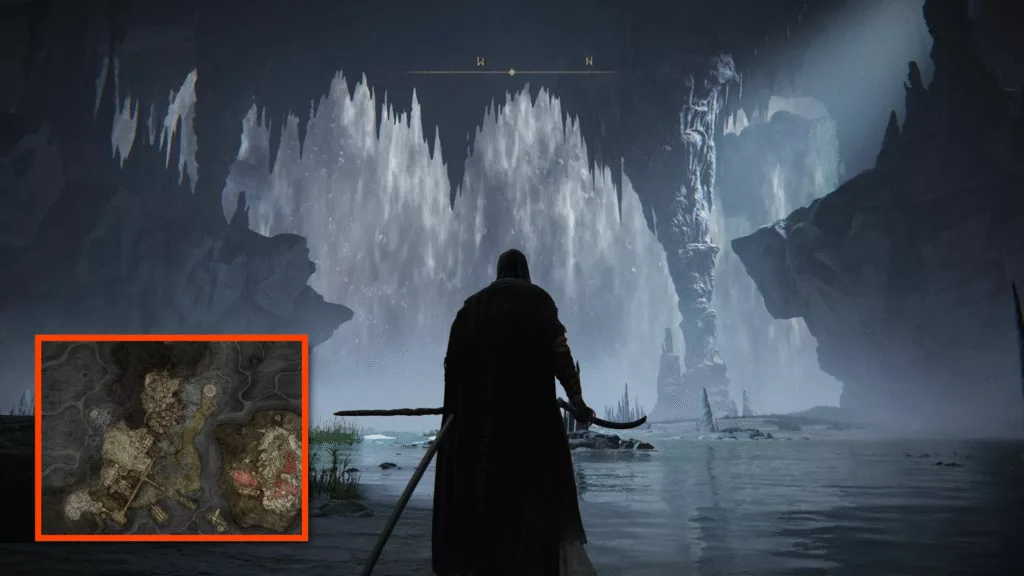
18. Lake of Rot
| Major locations: | Lake of Rot Shoreside Site of Grace, Grand Cloister |
| Important bosses: | Dragonkin Soldier Ulcerated Tree Spirit Astel, Naturalborn of the Void |
| Recommended character level: | 85–95 |
| Recommended weapon level: | +16 to +20 (Standard), +7 to +8 (Somber) |
Your adventure here starts at the Shoreside Site of Grace, where the gigantic scarlet-rot-filled waters almost immediately pose a threat. Your first task here is to activate the four stone-pillar pressure plates, which raise safe platforms across the lake, letting you move around without being submerged for too long.
Along the way, look for rare loot like the Immunizing Horn Charm and Nomadic Warrior’s Cookbook 22, along with Somber Smithing Stones. You’ll have to deal with roaming enemies like Basilisks and Lesser Kindred of Rot, but it will be worth the hassle. The fight against Astel, Naturalborn of the Void, is an optional one, but tied to a questline.
19. Moonlight Altar

| Major locations: | Moonlight Altar Plateau, Cathedral of Manus Celes, Chelona’s Rise |
| Important bosses: | Glintstone Dragon Adula Alecto, Black Knife RingleaderGlintstone Dragon Adula |
| Recommended character level: | 90–100 |
| Recommended weapon level: | +18 to +20 (Standard), +7 to +8 (Somber) |
This location sits high above Liurnia of the Lakes and is only reachable once you advance through Ranni the Witch’s questline. Once you arrive, you’ll explore the plateau’s moonlit ruins and loot powerful enemies. Some of these items include the Dark Moon Greatsword, Cerulean Amber Medallion, and Somber Smithing Stones.
You’ll also crack the puzzle at Chelona’s Rise tower to obtain the Dark Moon Ring, a key item in Ranni’s storyline. Before you get past this area, make sure to fully explore and defeat the bosses if you’re up for it. Once done, you can move ahead with Ranni’s quest and proceed towards the endgame content.
20. Mount Gelmir
| Major locations: | The Bridge of Iniquity, Volcano Manor, Seethewater River and Terminus, Hermit Village, Fort Laiedd |
| Important bosses: | Rykard, Lord of Blasphemy (mandatory for Volcano Manor) Magna Wyrm |
| Recommended character level: | 90–100 |
| Recommended weapon level: | +15 to +20 (Standard), +6 to +8 (Somber) |
You enter Mount Gelmir by making your way from the Altus Plateau and crossing the Bridge of Iniquity. Welcomed by the mountainous terrain, you’ll find Sites of Grace (like the First Mt. Gelmir Campsite), and navigate ladders and spiritsprings. Eventually, you’ll survive increasingly dangerous enemy attacks and lava-filled ravines.
Your ultimate destination in this area is the Volcano Manor at the summit, where you’ll face Rykard, Lord of Blasphemy. Completing this zone further opens up endgame content and unlocks major story threads. Before you leave Mount Gelmir, make sure you’ve uncovered the map fragment and visited all main Sites of Grace.
21. Volcano Manor
| Major locations: | The Manor Entrance, Guest Hall, Prison-Town Church, Lava-Town, Boss Hall |
| Important bosses: | Rykard, Lord of Blasphemy (mandatory for this area) Godskin Noble Magma Wyrm Abductor Virgins |
| Recommended character level: | 100–110 |
| Recommended weapon level: | +20 to +24 (Standard), +8 to +9 (Somber) |
You reach Volcano Manor after traversing Mt. Gelmir or through Rya’s invitation. Once inside, you’ll explore several large areas and collect useful resources along the way. If you join the manor questline, many new challenges open up, most importantly the fight against Rykard, Lord of Blasphemy.
Optional bosses like the Godskin Noble and Magma Wyrm provide valuable rewards, especially if you’re up for trying new weapons and upgrades. Before leaving this area, ensure you’ve completed the key interactions with NPCs like Tanith and Bernahl.
22. Dragonbarrow
| Major locations: | Fort Faroth, Dragonbarrow Cave, Bestial Sanctum |
| Important bosses: | Elder Dragon Greyoll Beastman Duo |
| Recommended character level: | 100–110 |
| Recommended weapon level: | +20 to +24 (Standard), +8 to +9 (Somber) |
On the plateaus just north of Caelid, you’ll find Dragonbarrow as a high-level region where dragons escaped the scarlet-rot-infested lands to nest. You reach this place via a hidden teleport portal in Limgrave, or by riding from Caelid over cliffs at Caelem Ruins. Once inside, you’ll explore Fort Faroth and traverse the dangerous plateau full of dragons and drakes.
While not required for the main path, Dragonbarrow is packed with high-tier gear, upgrade materials, and unique loot. All this is best tackled once you’re confident in your build and playstyle. Don’t forget to explore Dragonbarrow Cave for rare loot and powerful enemy drops.
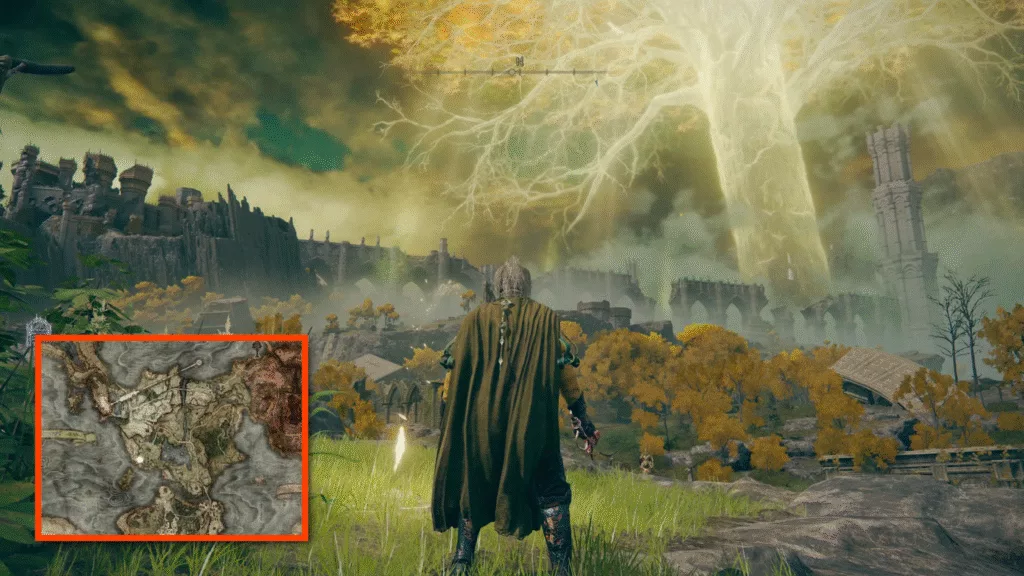
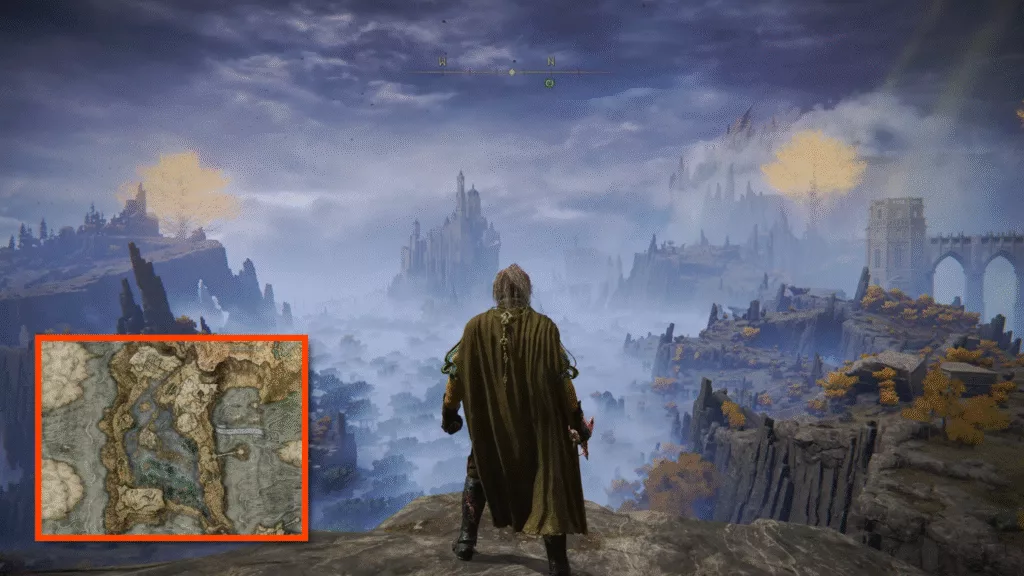
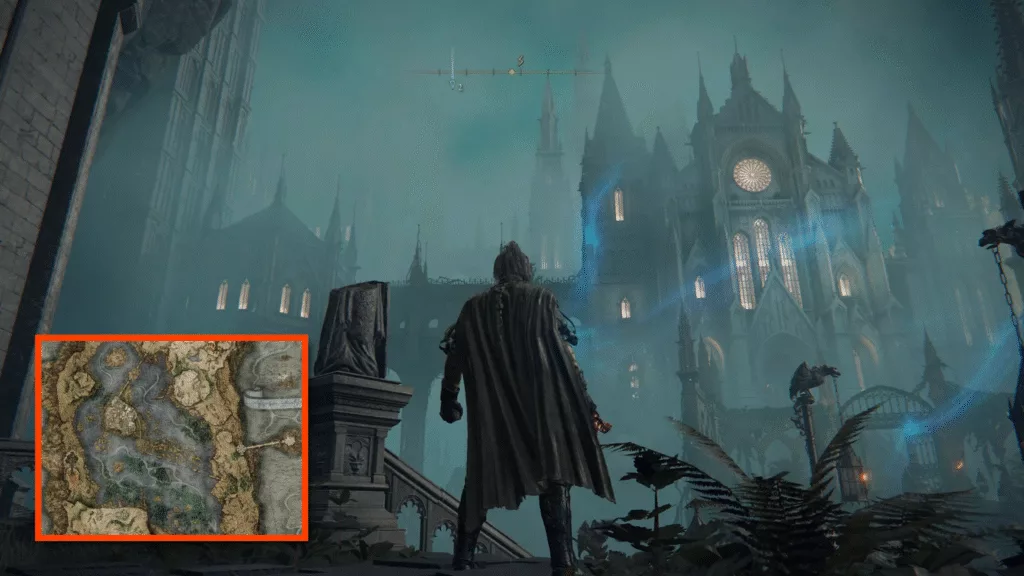
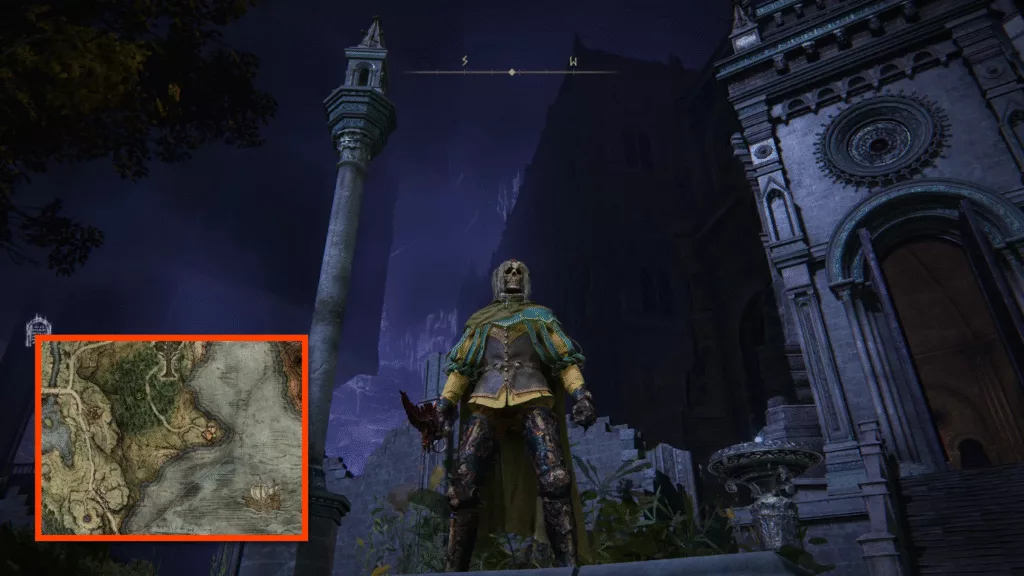
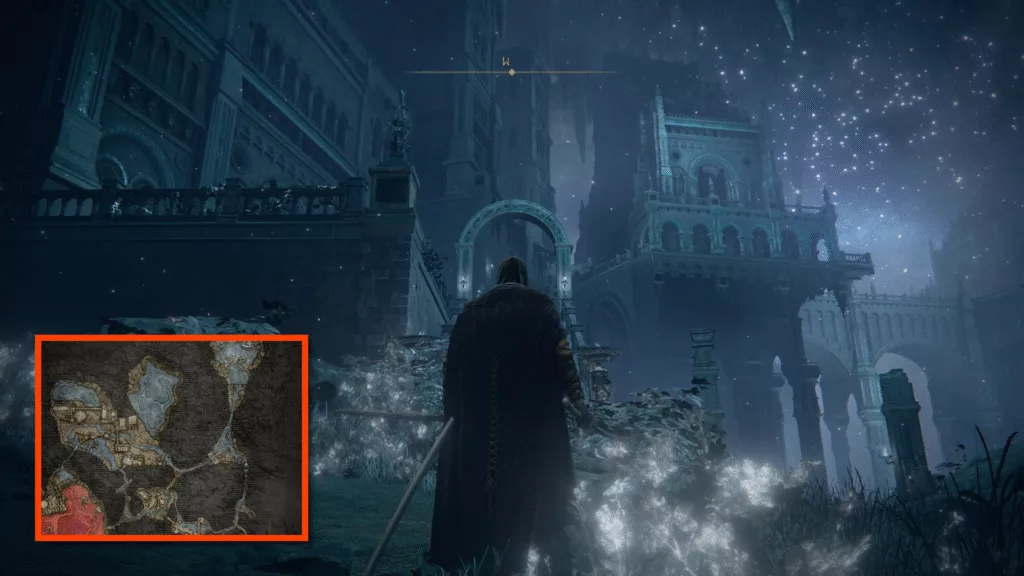
23. Leyndell, Royal Capital
| Major locations: | Outer Wall, Capital Outskirts, Avenue Balcony, West/East Capital Ramparts, Erdtree Sanctuary, Queen’s Bedchamber |
| Important bosses: | Godfrey, First Elden Lord (mandatory) Morgott, the Omen King (mandatory) |
| Recommended character level: | 100–110 |
| Recommended weapon level: | +20 to +24 (Standard), +8 to +9 (Somber) |
Once you’ve acquired at least two Great Runes, you gain access to the Royal Capital of Leyndell. You enter this area through the Outer Wall after defeating its Tree Sentinel guardian. Inside, the city acts as a grand space for ramparts, plazas, elevators, and hidden sewers. Navigate these until you find yourself moving toward the Elden Throne.
Key progression points here are the West Capital Rampart, the Erdtree Sanctuary (for Godfrey), and the Queen’s Bedchamber (for Morgott). Once you defeat Morgott, you unlock the path onward into the next major zone, Mountaintops of the Giants. Along the way, make sure to collect map fragments, Sites of Grace, Smithing Stones, and other important loot.
24. Forbidden Lands
| Major locations: | Forbidden Lands Site of Grace, Grand Lift of Rold |
| Important bosses: | Black Blade Kindred Night’s Cavalry |
| Recommended character level: | 110–120 |
| Recommended weapon level: | +24 (Standard), +9 (Somber) |
This place is shrouded in thick fog and coated in snow. It serves as a transitional zone rather than a fully developed area for exploration. Keep riding or walking along the path and deal with a handful of roaming enemies like the Black Blade Kindred and Night’s Cavalry.
At the end of this little journey, you’ll find yourself at the Grand Lift of Rold, which will carry you upward to the next major zone. The loot and bosses around this are all optional, but essential to go through. Following this path and taking the Grand Life of Rold progresses the main story and provides access to endgame content.
25. Mountaintops of the Giants
| Major locations: | Zamor Ruins, Giants’ Gravepost, Foot of the Forge, Forge of the Giants, Castle Sol |
| Important bosses: | Fire Giant (mandatory) Borealis, the Freezing Fog Commander Niall |
| Recommended character level: | 110–120 |
| Recommended weapon level: | +24 (Standard), +9 (Somber) |
When you ascend to the Mountaintop of the Giants, you’re greeted with a harsh, snow-covered region. This exploration starts at Zamor Ruins, where you’ll navigate through cliffs filled with giants, massive bridges, and frozen lakes. Some of these areas also serve as prime Sacred Tear locations, so make sure to investigate everything.
Defeating the Fire Giant marks a major point of progression in this region, and we also recommend exploring optional detours like Castle Sol and local catacombs. Some of these places grant you some of the top Intelligence weapons (like the Eclipse Shotel) you may not find elsewhere.
26. Consecrated Snowfield
| Major locations: | Consecrated Snowfield Catacombs, path towards Miquella’s Haligtree |
| Important bosses: | Astel, Stars of Darkness |
| Recommended character level: | 120–130 |
| Recommended weapon level: | +24 to +25 (Standard), +9 to +10 (Somber) |
Once you’ve acquired both halves of the Haligtree Secret Medallion, use it to access the Grand Lift of Rold. This unlocks a secret route branching off into a challenging zone deep into the game. In the Snowfield, you’ll traverse through a blizzard-riddled landscape with a frozen river cutting across it, and explore hidden dungeons like the Snowfield Catacombs.
Since this area is extremely dangerous, you should only go here once your gear, level, and build are fully prepared. Find as many items, spells, and resources you can here, and leave with a mindset that you’re ready to explore much of the endgame content before concluding your journey with Elden Ring.
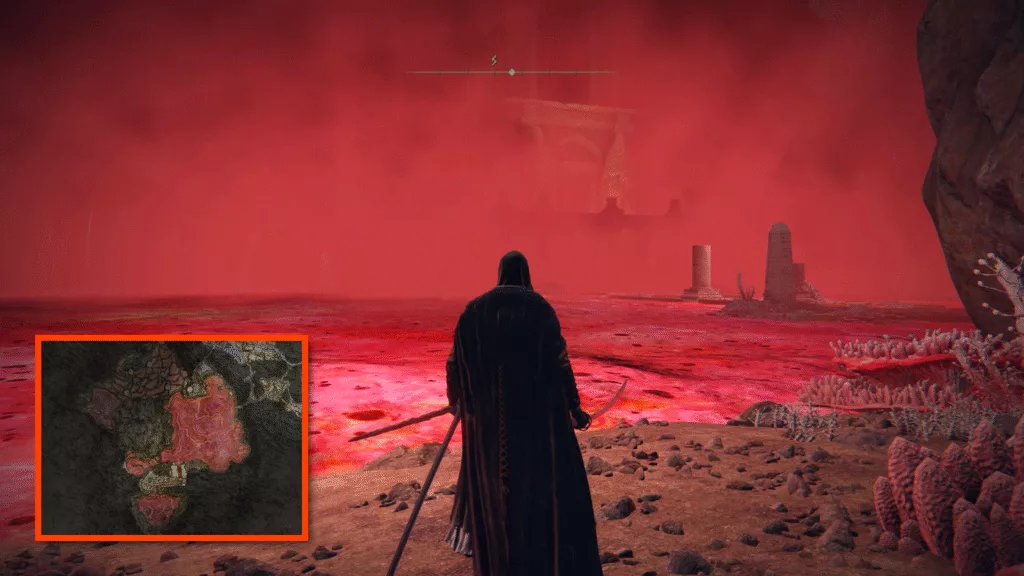
27. Mohgwyn Palace
| Major locations: | Palace Approach Ledge-Road, Dynasty Mausoleum Entrance and Midpoint, Blood-Lake area |
| Important bosses: | Mohg, Lord of Blood |
| Recommended character level: | 120–140 |
| Recommended weapon level: | +25 (Standard), +10 (Somber) |
Mohgwyn Palace is an eerie, horrifying place that rests beneath the lands of the Cosecrated Snowfield and above the depths of the rest of the world. It is accessed through a hidden teleporter or the Pureblood Knight’s Medal. Once inside, you’ll go through dark tunnels, emerge beside a vast red lake populated by Albinauric enemies, and make your way to Mohg.
Defeating Mohg is a tough process, but worth the rewards. Along the way, you will also loot major chests and find Golden Runes, rare weapons, and ashes of war. There are a lot of Ghost/Great Ghost Gloveworts and Somber Stones to be found, so make the most of your exploration here.
28. Subterranean Shunning Grounds
| Major locations: | Entrance from the Avenue Balcony Site of Grace, Underground Roadside Site of Grace |
| Important bosses: | Mohg, the Omen Other elite Omen enemies |
| Recommended character level: | 110–120 |
| Recommended weapon level: | +24 (Standard), +9 (Somber) |
This one’s an expansive, hidden dungeon beneath Leyndell, Royal Capital. Navigating this zone involves mastering drop-jumps, platforming, and avoiding tough enemies while chasing down loot, or finding shortcuts that eventually lead you to the boss Mohg.
This area is confusing and punishing, due to its labyrinth-esque design and extremely high enemy difficulty. Despite all this, the region rewards you with top-tier gear and quest items (such as the Dung Eater cell) and is often tackled by those who are ready for Elden Ring’s endgame content.
29. Miquella’s Haligtree
| Major locations: | Entry from Grand Lift of Rold, Haligtree Canopy, Elphael, Brace of the Haligtree, Haligtree Roots |
| Important bosses: | Loretta, Knight of the Haligtree Malenia, Blade of Miquella |
| Recommended character level: | 130–150 |
| Recommended weapon level: | +25 (Standard), +10 (Somber) |
As you make your way to this hidden zone, you’ll start descending through massive root-branches and battle through the town of Haligtree with its elite enemies. Traversing through the rot-infested drainage channels will lead you to Loretta, and ultimately, Malenia, who is often regarded as the toughest optional boss in the game.
This zone grants some of the highest-tier gear available in Elden Ring. Some of these upgrade materials can help you maximize your weapon’s stats and help you clear out other areas of the game you may have been struggling with. However, Haligree itself is best explored when your character and gear stats are at a level you’re confident in.
30. Crumbling Farum Azula
| Major locations: | The South Bridge, Beast Grave area, Dragon Temple Roofs |
| Important bosses: | Godskin Duo Maliketh, The Black Blade (mandatory) Dragonlord Placidusax |
| Recommended character level: | 120–140 |
| Recommended weapon level: | +25 (Standard), +10 (Somber) |
After a rather dramatic event at the Mountaintops of the Giants, you’ll find yourself at Crumbling Farum Azula. This zone is surreal and time-displaced, as a series of shattered sky islands find themselves caught in swirling tornadoes. Exploring these floating ruins and meeting new enemies is part of the experience.
Eventually, you will fight the Beast Clergyman, which transforms into Maliketh, The Black Blade. On the way, you will also encounter the Godskin Duo. These bosses promise a world of pain if you’re not prepared, and that’s why we recommend finding all the loot and upgrades you can before facing them.
31. Leyndell, Capital of Ash
| Major locations: | Erdtree Sanctuary, Queen’s Bedchamber, the Elden Throne |
| Important bosses: | Sir Gideon Ofnir, the All-Knowing (mandatory) Godfrey, First Elden Lord (mandatory) Radagon of the Golden Order (mandatory) |
| Recommended character level: | 140–150+ |
| Recommended weapon level: | +25 (Standard), +10 (Somber) |
If you’ve made it this far into the game, congratulations! The once-grand imperial city is now buried under ash and ruins. Your objective here is to navigate the ruined city toward the Erdtree Sanctuary, then climb the giant roots to reach the Queen’s Bedchamber, where you’ll fight Godfrey, First Elden Lord, and then the Elden Beast.
This wraps up the main story’s climax and gives you an ending based on your actions throughout the game. Along the way, you’ll pick up high-tier loot such as Somber Ancient Dragon Smithing Stones and important incantations like Erdtree Heal.
Explore Massive Worlds in Your Next RPG Adventure
In Elden Ring, where you go first can determine a lot of consequences for your character and help you discover the best farming spots to level up quickly. After all, this open-ended game is never short of surprises and twists. Our Elden Ring progression route can help you explore the game in a calculated way.
Once you’ve completed this journey, we suggest exploring an RPG collection that can introduce new realms to your world of imagination. RPGs promise hours of content and gameplay, so why stop at Elden Ring? Keep experimenting and exploring different games until you find your next adventure.
Elden Ring Progression Route FAQ
Can I Skip Parts of the Progression Route?
Yes, Elden Ring’s open-world design allows you to bypass major areas. However, this may leave you underleveled for endgame bosses.
Who is the Hardest Boss to Defeat in Elden Ring?
Malenia, Blade of Miquella remains the toughest challenge in the base game, especially if you’re playing solo without Spirit Ashes.
How Do I Start and Complete NPC Questlines?
You start a questline by reading all of an NPC’s dialogue options until they repeat themselves. To complete these quests, pay close attention to item descriptions for clues and any instructions given by the NPC.
What are the Best Farming Locations in Elden Ring?
The Palace Approach Ledge-Road in Mohgwyn Palace is an excellent farming spot for midgame to endgame content. For early-game farming, consider the Lenne’s Rise boulder dodge in Caelid or the trolls at the Stormgate.